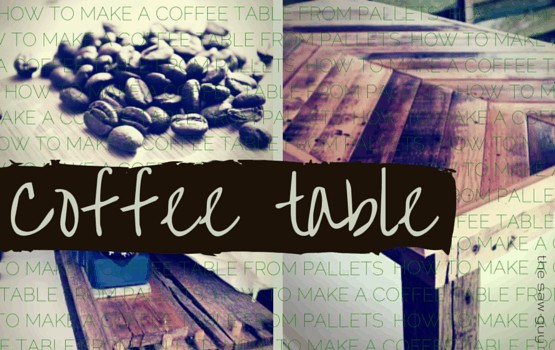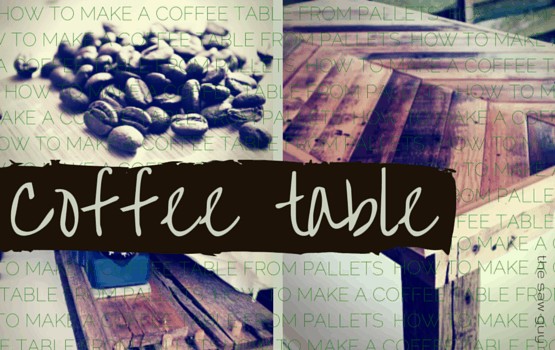
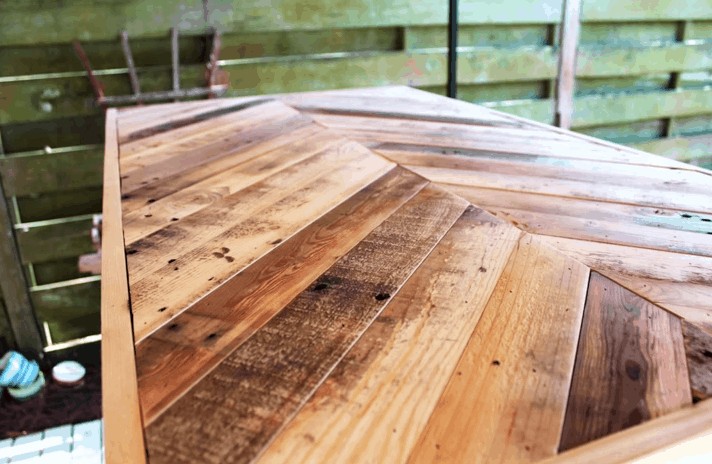
The Saw Guy here with another pallet project. This coffee table from pallets isn’t just your typical coffee table. Using the “chevron” pattern, this pallet coffee table from Beach Bum Livin is one of the coolest yet, but also, one of the easiest.
Get your short list of tools ready. Here we go!
Table of contents
What You’ll Need
- Drill
- Power Planer (not 100% necessary)
- Table Saw and Circular Saw (can be done with circular saw only)
- Sawzaw (I recommend this one)
- Nail Gun
- Kreg (pocket hole) Jig
- Hammer and Nails
- 2-3 in Deck Screws
- At least 4 pallets
- 2×4 – 1/2 inch Sheet of Plywood
- 8 ft – 4×4
- 2- 8 ft – 1×2
1. Disassemble Pallets
Everyone has a favorite (very relative term) way to dismantle pallets. However, if you’re not familiar with the process, or are looking for tips, click the link below to check out our guide.
2. Cut Each Plank To 2-1/2 inches
The table will fit more planks to make-up the table top if each board is cut down to 2-1/2 inches. It also ensures a straight edge on each board, helping each plank to fit tightly against one another.
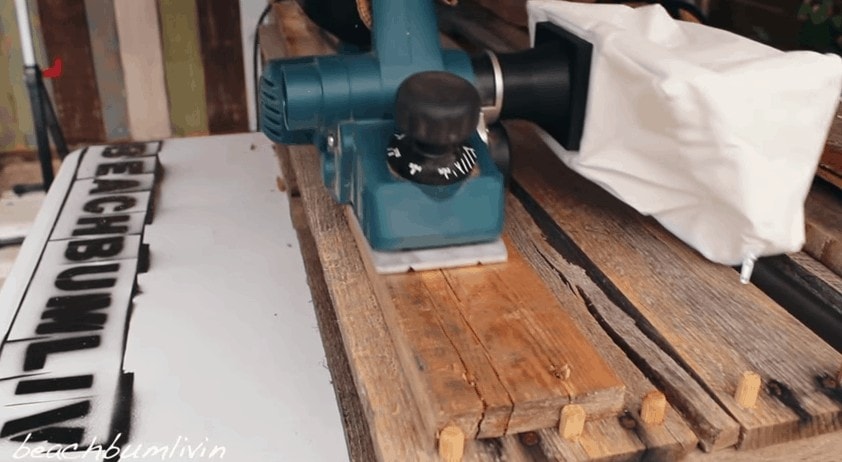
The tutorial shows each board being planed before assembly. This will help the grain to stand out, but isn’t entirely necessary. However, if you do not plane the boards, I suggest sanding a little to clean the wood up (which also helps expose the wood grain).
3. Make 45 Degree Angles
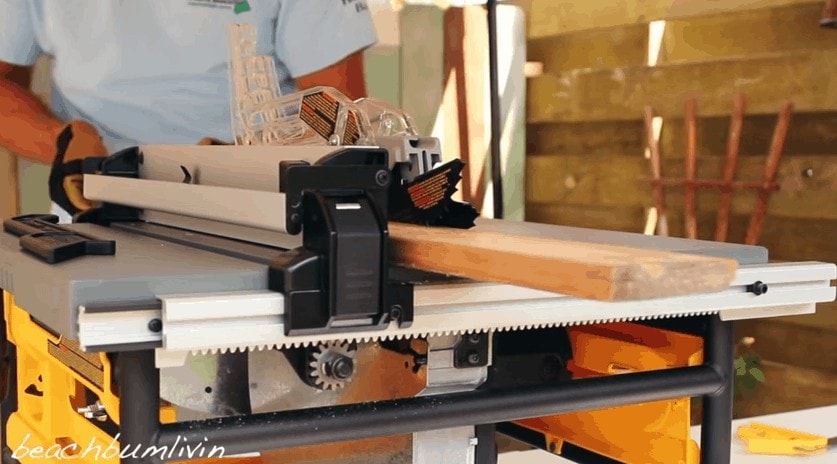
Cut one end of each of the 2-1/2 inch boards at a 45 degree angle. If you have a table saw or a miter saw, this is the best time to use it. However, if all you have is a circular saw, just make sure to mark the 45 degree angle with a bevel.
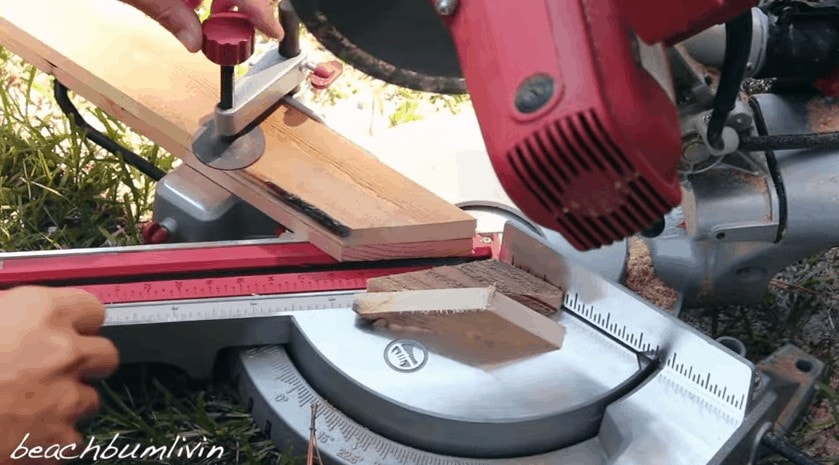
4. Assemble Cut Wood Planks & Attach To Base
I recommend lining up all of your pieces (45 degree angle inside) to ensure you have enough, and so that you don’t get into a situation where you have to disassemble everything.
Draw a straight line down the center of the plywood.
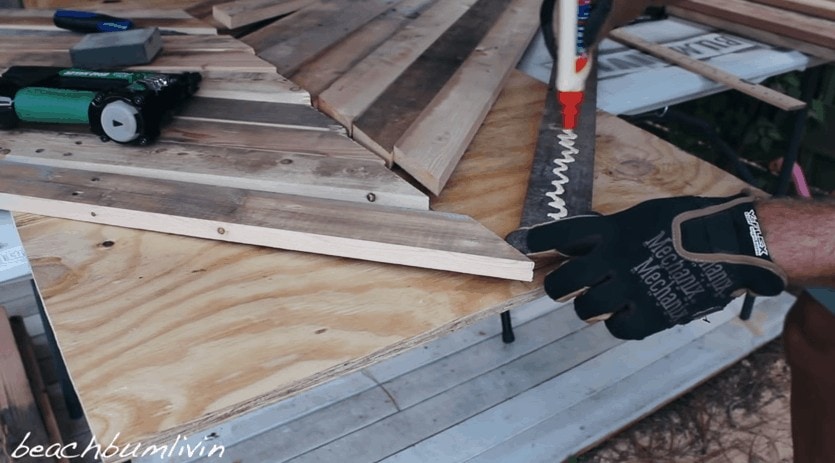
Once you’re confident in your design, start attaching each board onto the plywood by adding a layer of wood glue. Next, use a nail gun (or hammer and finish nails) attaching the board onto the plywood.
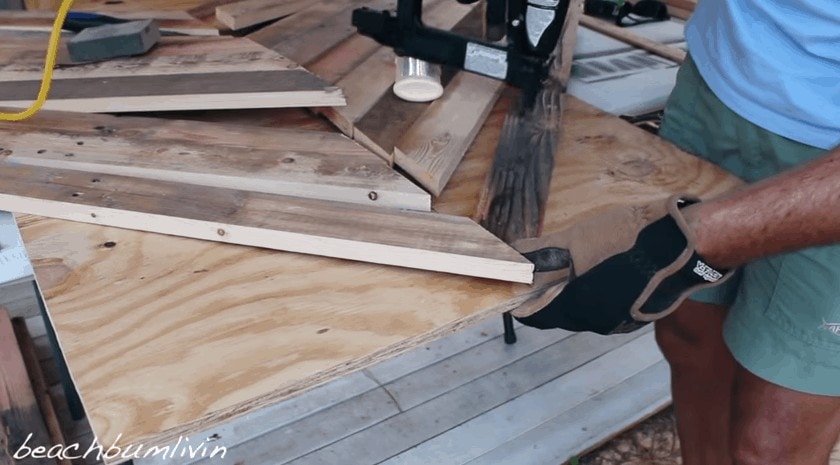
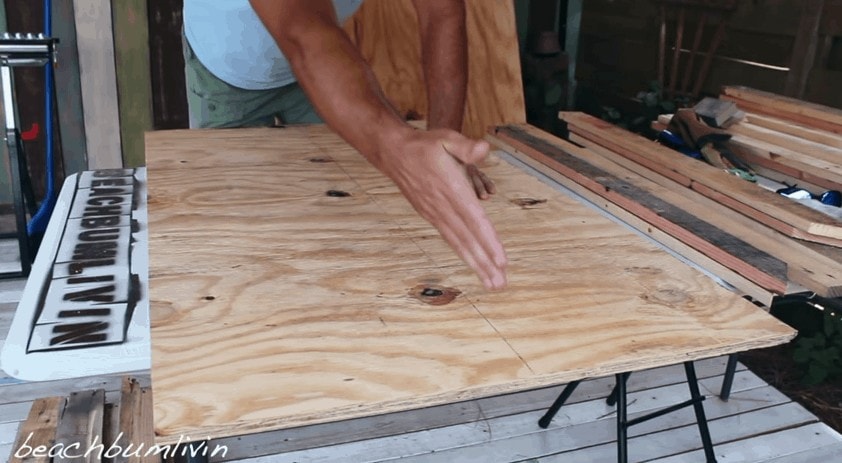
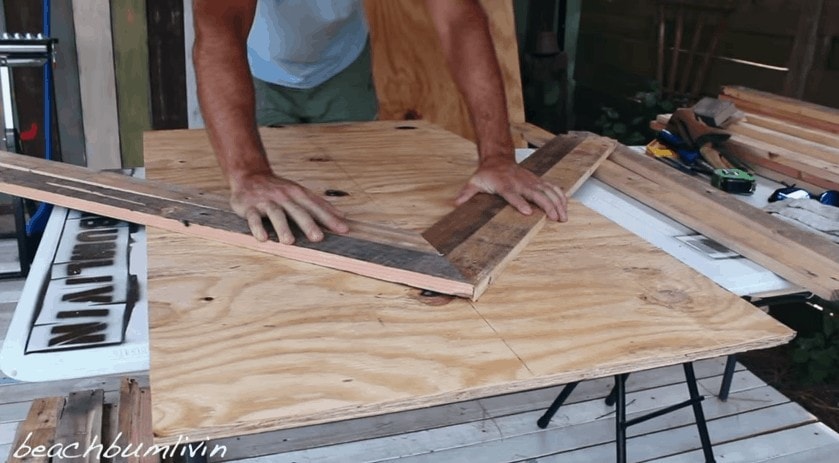
5. Cut Away Excess Planks
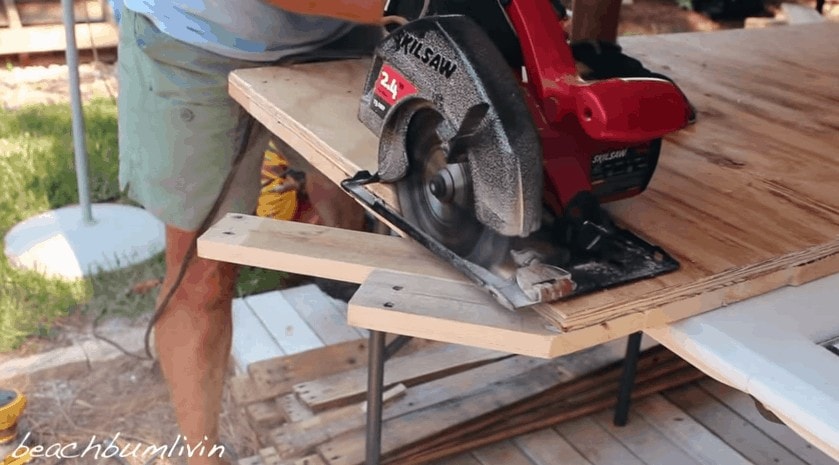
Using your circular saw, cut away the excess wood on each side of your tabletop.
6. Attach 1×2 Frame
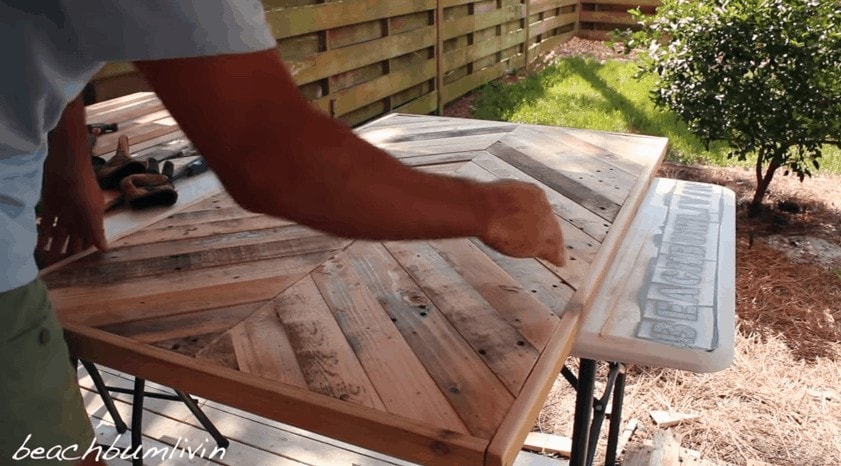
Basically, you want to border the tabletop with 1×2’s to cover up the edges.
7. Attach Legs
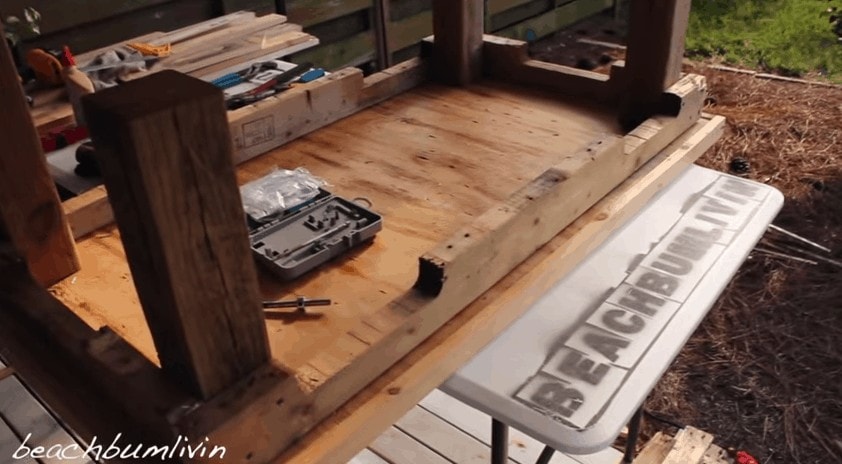
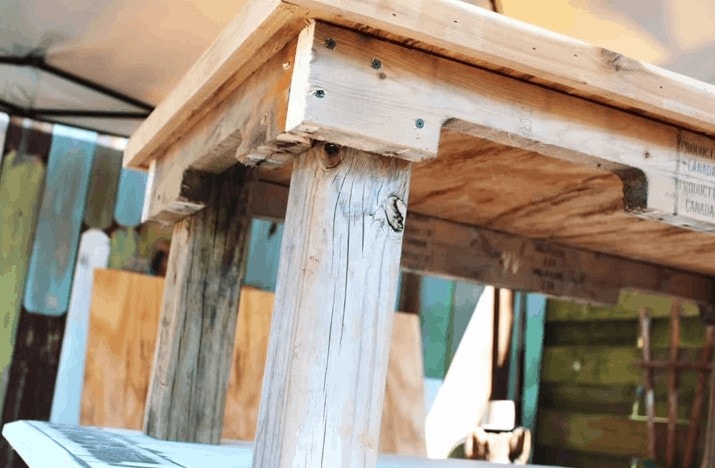
Use the base pieces from your disassembled pallets, cut, and attach to the underside of your tabletop.
If you have a Kreg Jig, awesome, use it. If not, go back to step 3 and screw your plywood base into the pallet base pieces before you attach the tabletop wood.
Now, just screw your 4×4’s into the pallet base pieces.
8. Finishing Touches
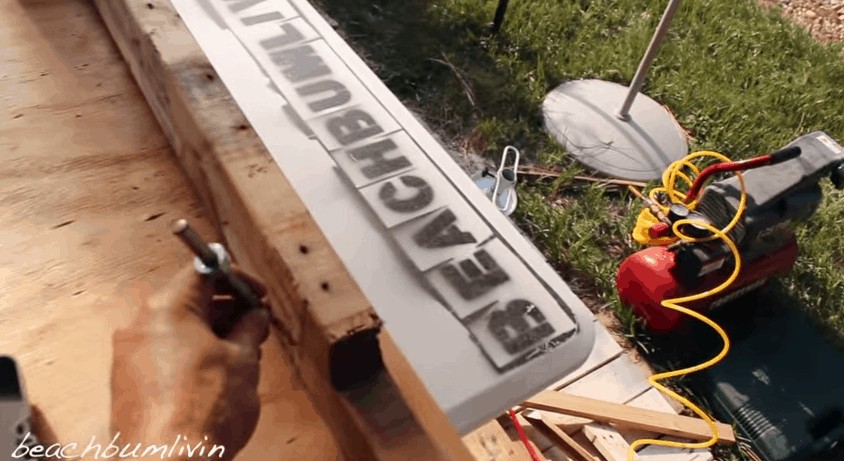
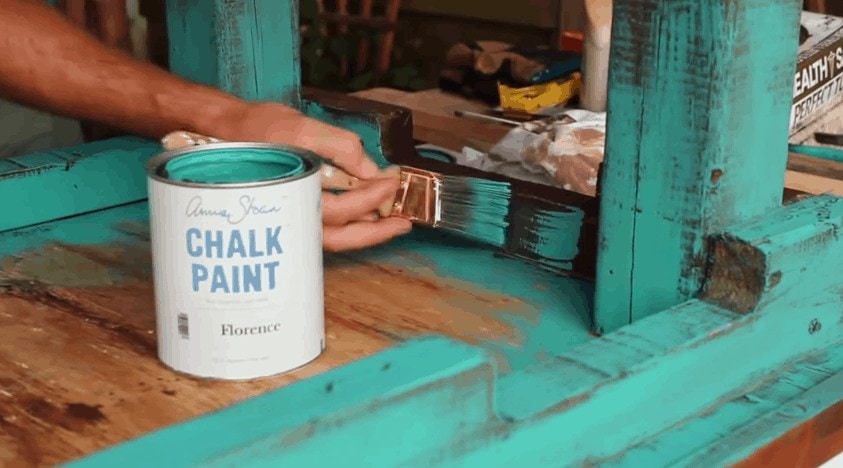
Dude…you’re basically done! The finishing touches are all up to you. If you want a smooth finish, sand it up. Stain it or something. Try painting it with some chalk paint…it’s up to you.
Watch the full tutorial from Beach Bum Livin here.
Ready for another project? Like making money? Check out our list of 25 creative things to make and sell online.

