What You'll Need
- Coffee Grounds
- Mason Jar
- Steel Wool
- White Vinegar
- Measuring Cup
- Bowl
How It Works
The chemical formula is: 4Fe + 3O2 = 2Fe2O3
Clears things right up doesn't it....maybe not?
That reddish-brown crud we call "rust" is all around us, yet we probably rarely think much about it. It turns out what we call rust is a chemical process that combines iron (Fe) and oxygen (O) to form iron oxide."
Blog
During this reaction the iron atoms are passing electrons to the oxygen atoms, a transfer that is called oxidation. In the process the atoms are bound together forming rust.
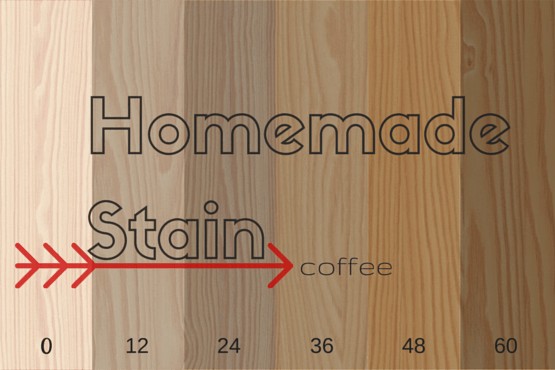
When rust and vinegar react with the tannins in the wood they create the color or shade we see similar to stain.
Fun Fact: Tannins or Tannic Acid is also responsible for making wine, which is why wine is created in wood barrels!
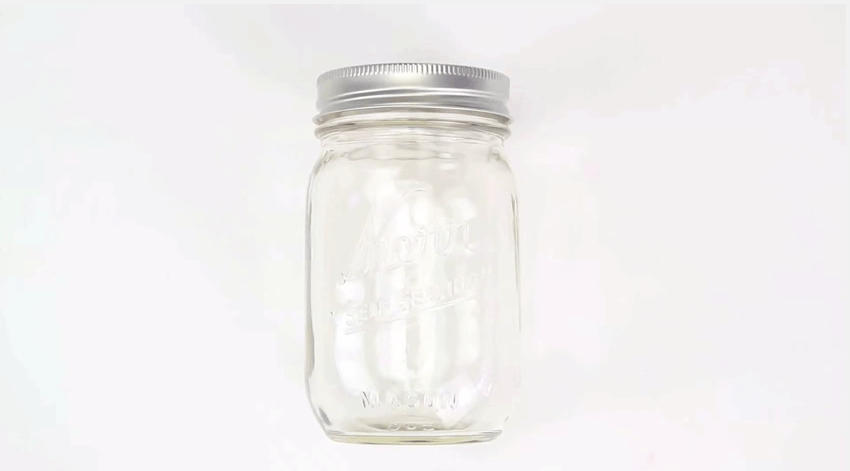
1. Grab A Mason Jar
It doesn't have to be a mason jar per se. Any sealable jar will work. Pickle Jar...
2. Add Coffee Gounds
Depending on the size of your project, approximately 1/4 cup should do it.
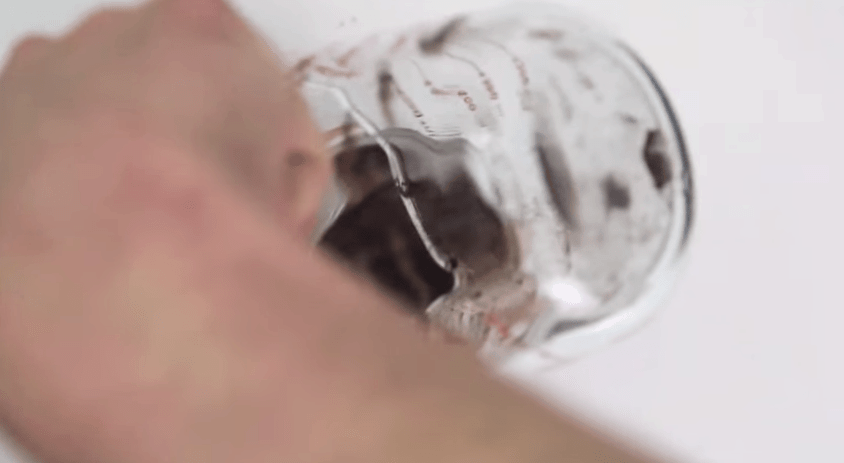
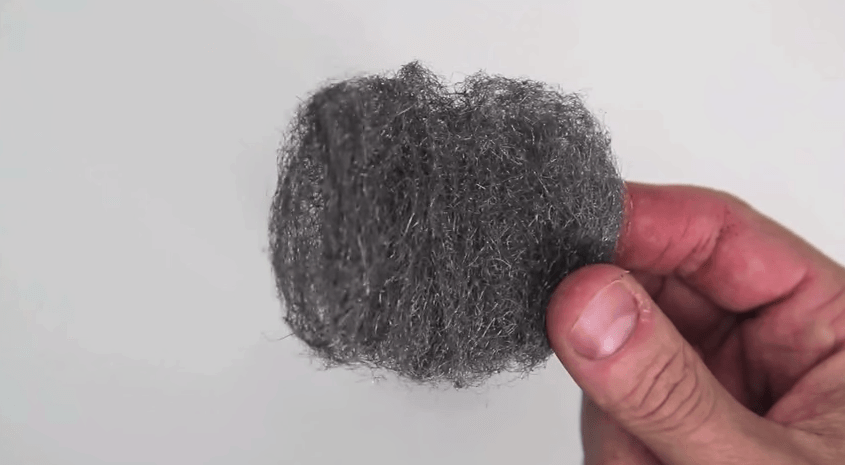
3. Insert Steel Wool
Use 1 full pad. Fine or extra fine steel wool works best because it breaks down quicker.
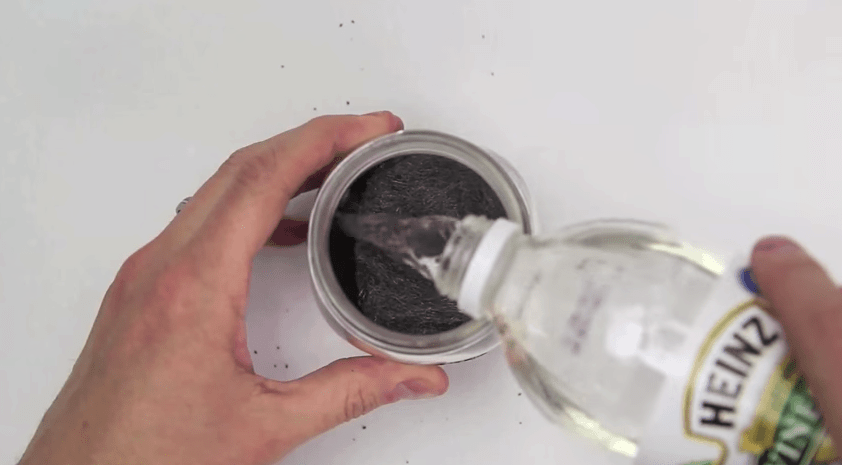
4. Pour White Vinegar
Fill the jar approximately 3/4 of the way to the top.
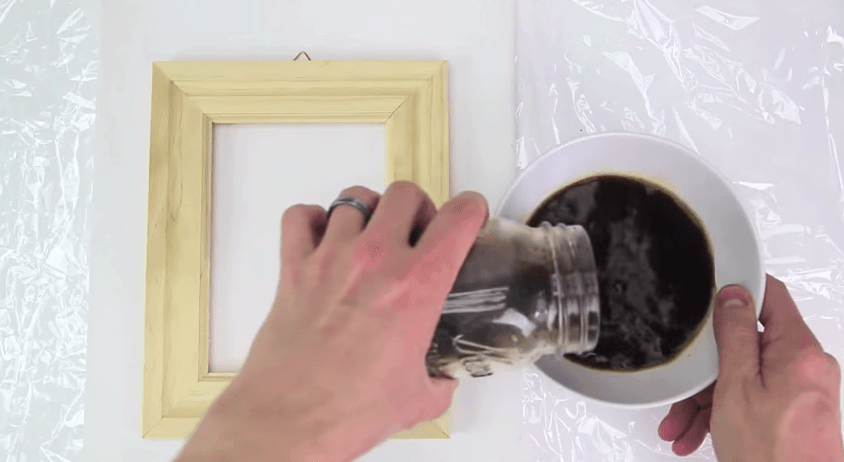
5. Let It Rest & Add To Bowl
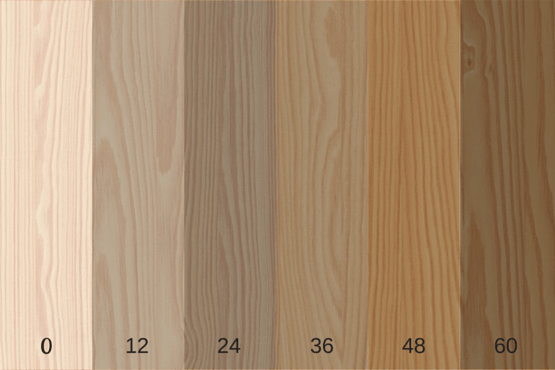
Anywhere between 12-24 hours will do the trick.
6. Apply Multiple Coats
Using the steel wool pad you let soak in the mixture, rub the stain into the wood ensuring full coverage.
At first you won't notice much of a difference. It just looks like you spread coffee grounds and vinegar all over your wood.
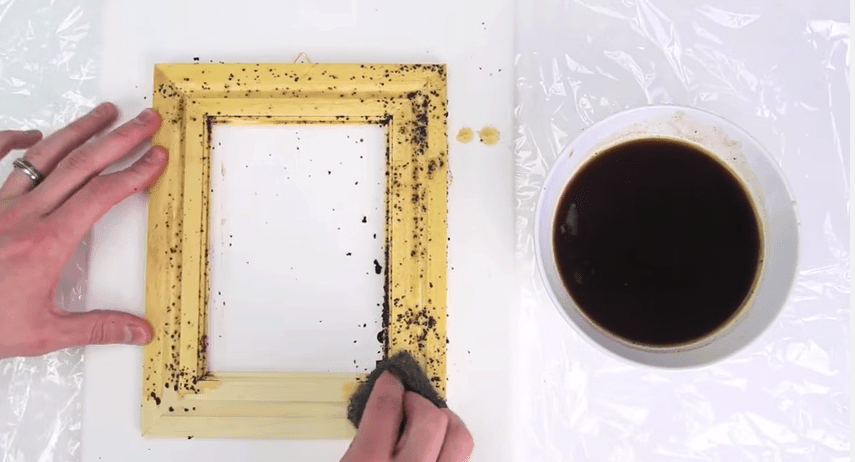
Be patient...
After about twenty minutes you'll start to notice what looks like a moldy grey blotchy coverage.
First coat - Twenty minutes later...
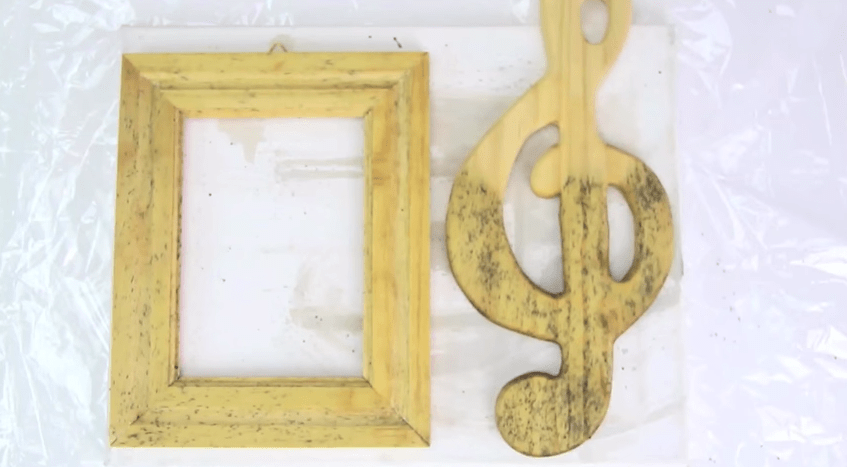
Don't worry. It isn't mold.
What you're seeing is the concoction reacting with the tannins in the wood.
Depending on the look you're going for, add another two coats, waiting around twenty minutes between each (approximate drying time). It's interesting what happens next...
Second coat - Another twenty minutes...
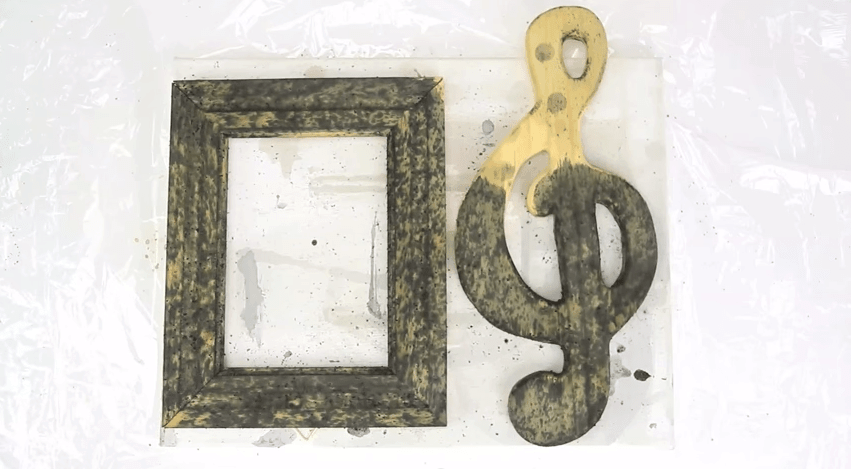
Third coat - And another twenty minutes pass...
Whoa! It's pretty drastic from the first coat. But, really neat nonetheless.
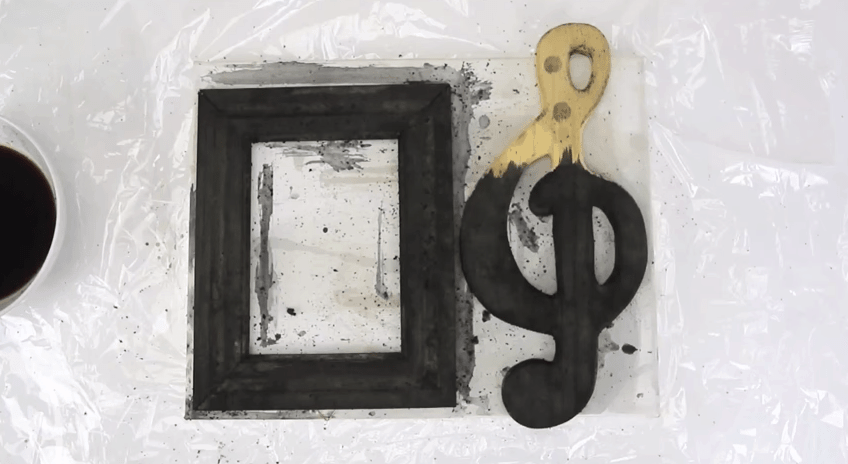
7. Finish
This is where you decide if you want to lighten it up with some sanding, or add a coat or two of polyurethane to give it some protection.
I personally would use a semi-gloss or satin polyurethane to maintain the style this homemade coffee stain provides.
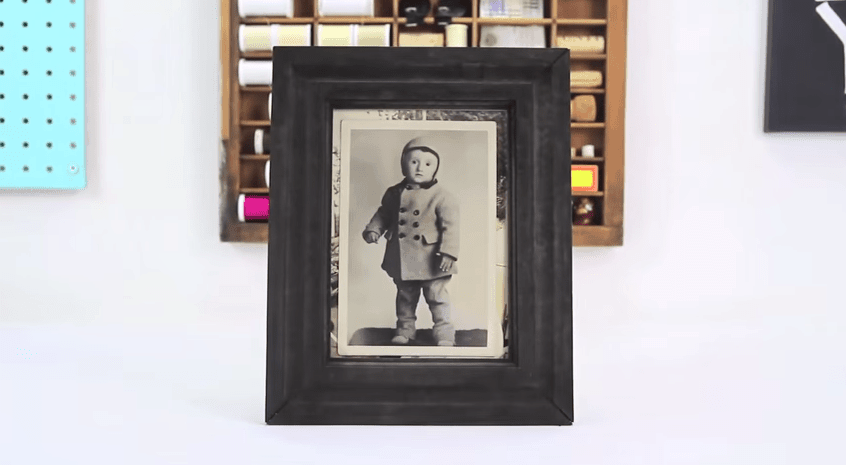
The "driftwood" look this stain offers is really neat and unique. Play around with it to get the ideal look. I suggest using a scrap piece of wood to get the formula right before applying to your final project piece.
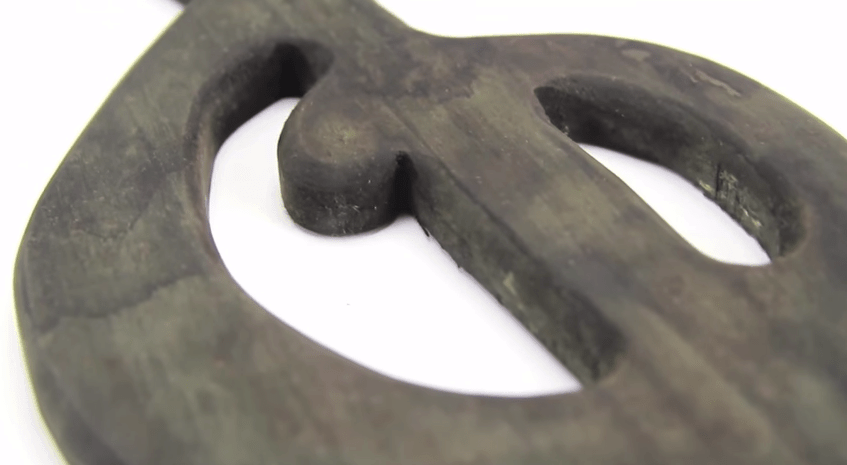
Use the scale of the wood frame in this tutorial to determine your ratios for the size project you're doing.
In example, this is a small coverage area and the ratios are: small mason jar, 1/4 cup of coffee grounds, 1 steel wool pad, approximately 2 cups of vinegar.
So, increase the ratios for larger projects...
The cool thing about this stain (like other vinegar based stains) is that it basically dries similar to water. It only takes a few minutes. The smell will go away in a few hours as well.
Naturally, adding polyurethane will seal the stain and protect the wood.
Give it a try, and as always, have fun!
Oh.....and wear gloves!!
Watch the full tutorial from Thread Banger here.

