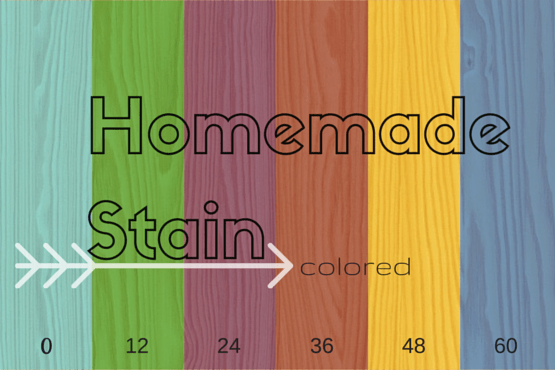
Have you needed some funky color wood stain, but you can't find anything remotely close at the hardware store?
Tired of browsing the countless shades of stain, only to find a million shades of neutral colors like brown and grey?
This quick and easy 7 step method will invoke the creative "you" that has been aching to break through.
What You'll Need
- Paint
- Water
- Brush
- Papertowel
- Polyurethane or Finishing Wax
Are you ready to create this...
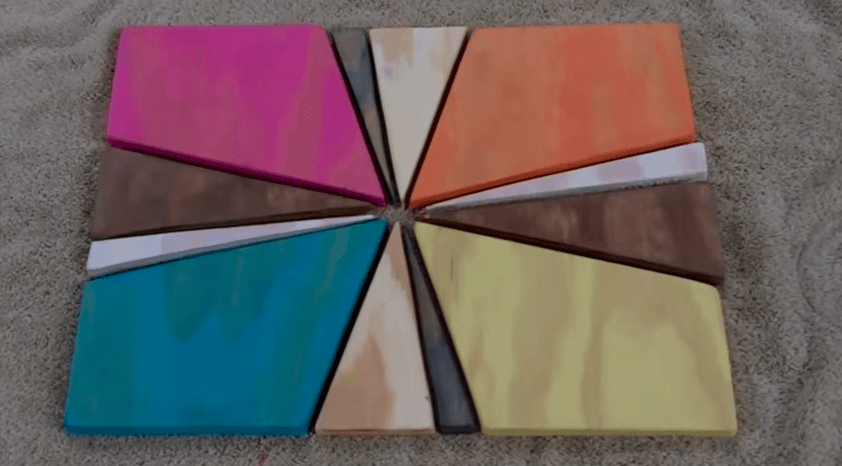
From this...
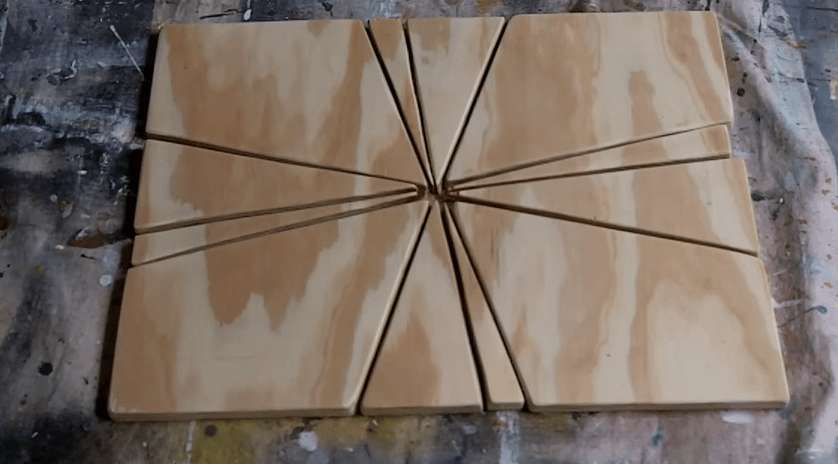
1. Assemble Materials
There are a minimal amount of materials needed for this project.
Quick tip: The quality of paint does not really matter. You will be watering it down considerably, so don't waste your money on high-dollar paints.
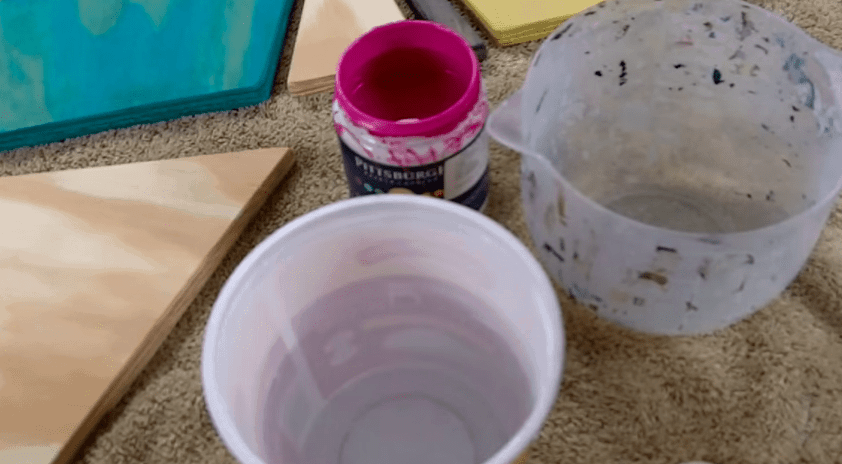
2. Add Water
For this project you want a 2:1 ratio. 1 part paint to 2 parts water.
The measurements will depend on the size of the surface you're covering.
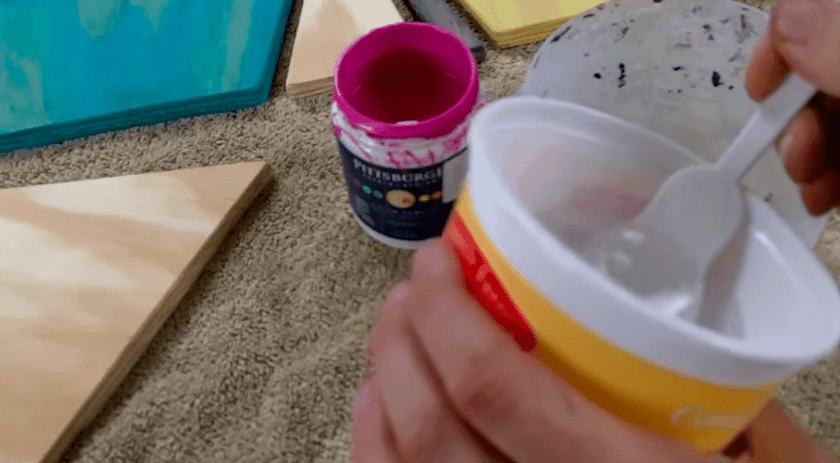
3. Add Paint
Now for the "1" ratio, adding the paint. Just remember, this isn't an exact science.
If you want the mixture to be thinner, just add more water. You really can't mess it up. If it's too thin, add paint.
The only thing you might get wrong is having more of your mixture than you can use.
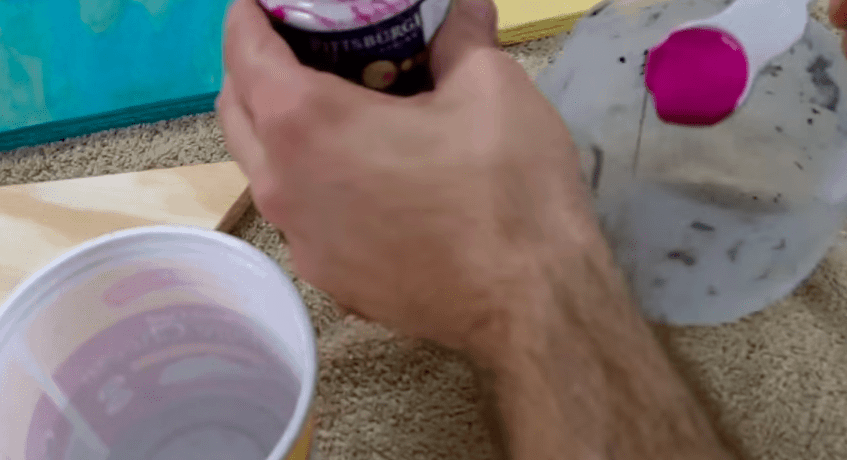
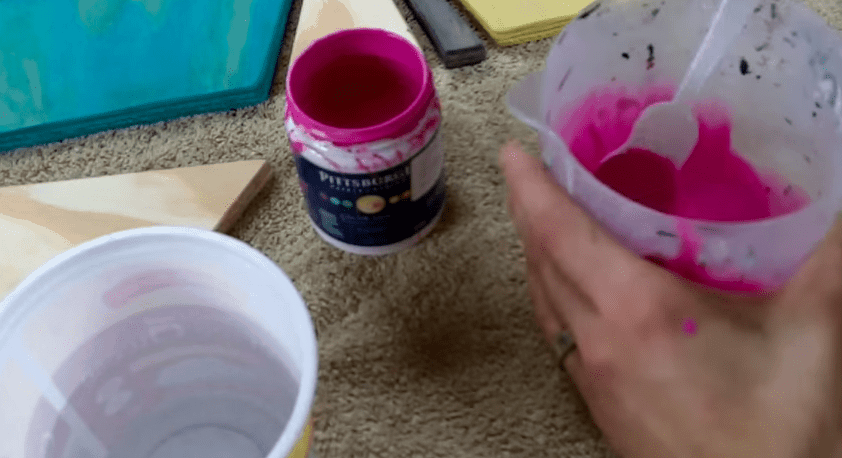
4. Mix Thoroughly
Make sure to mix furiously. The end result should be something similar to the consistency of milk.
5. Apply To Surface
The vehicle you choose to use to apply the paint is entirely up to you. For small applications a foam brush works nice because it is disposable, but for larger areas a brush is preferred.
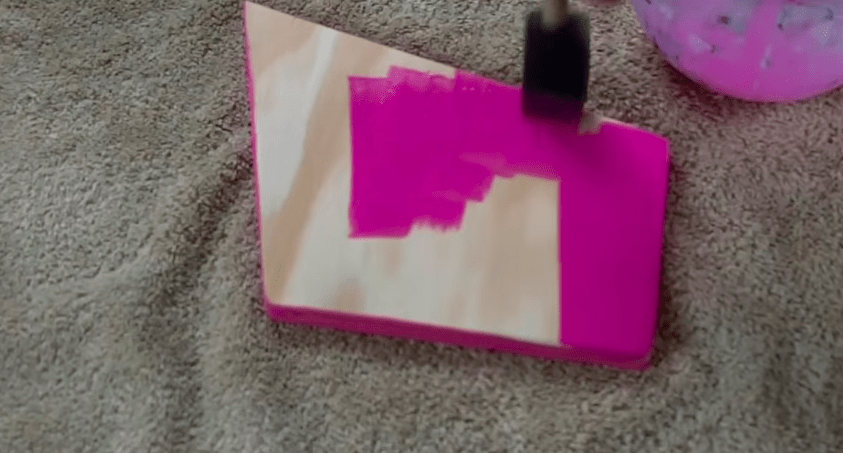
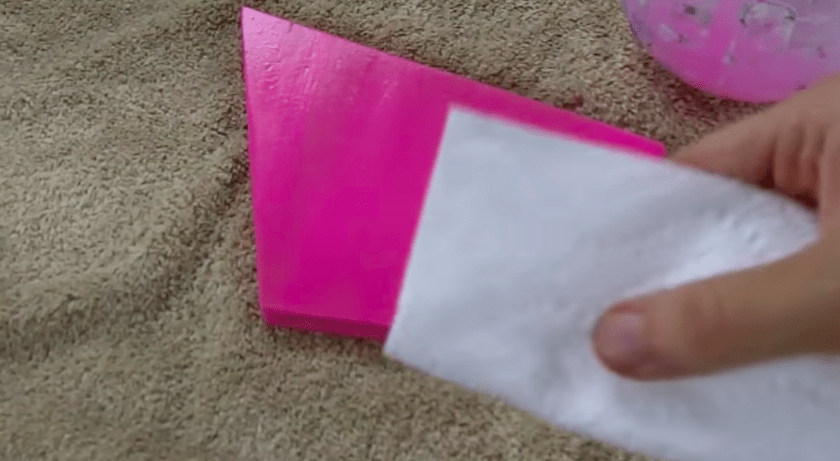
6. Dab and Wipe With Papertowel
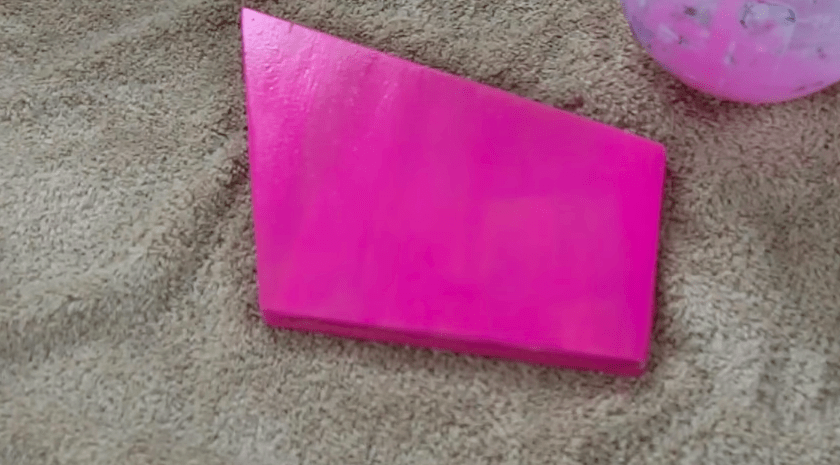
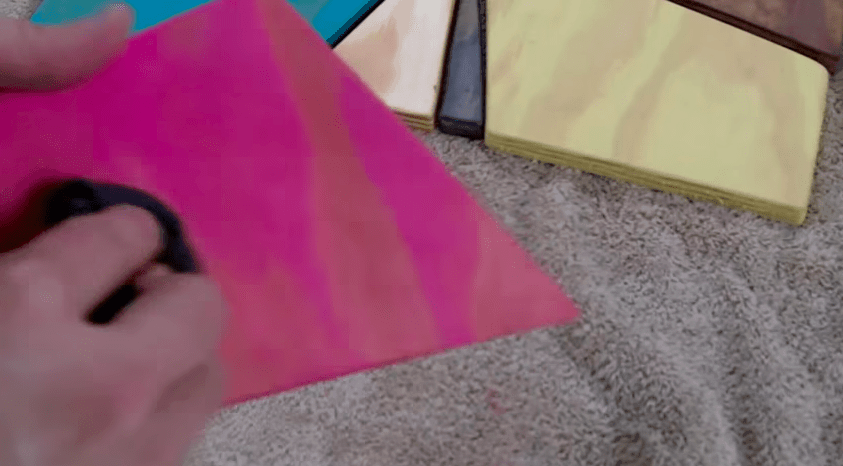
At first it's going to look like you just painted the wood. But, all is not lost.
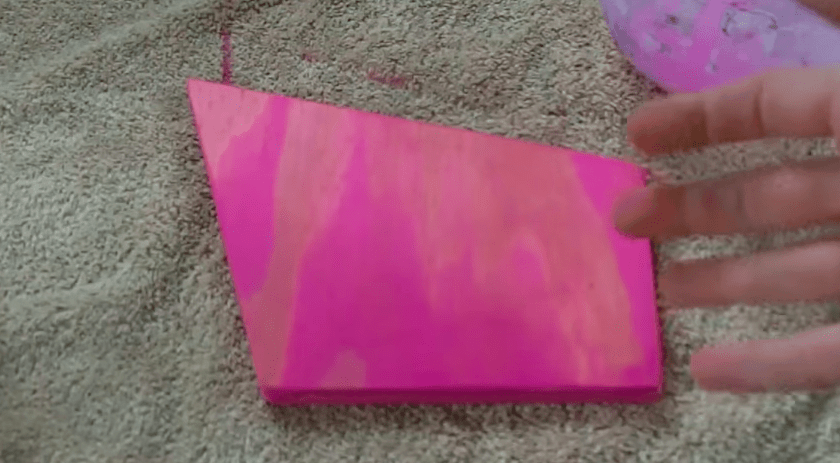
Thanks to the 2:1 ratio of water you added to the paint, you can dab the paint while it is still wet and then wipe away to let the wood grain show through.
Ultimately, you'll have a transparent color staining the wood!
7. Finish
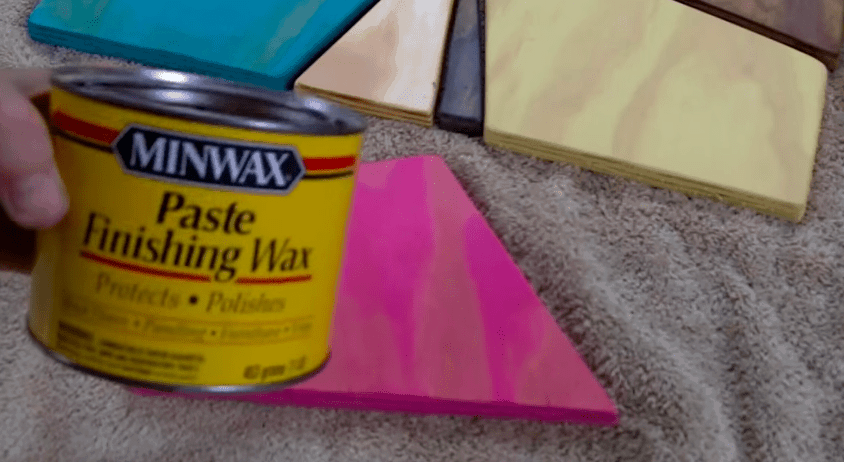
A finishing wax offers wipe on protection without changing the look of the wood.
Generally speaking, oil or water based polyurethanes will darken the color, and depending on the sheen, add a glossy finish.
All finished!

Watch the full tutorial from Mr. DIY Dork below.


OMG! Thank you for your colored staining technique!! You just saved me a lot of money!! I’ll send pictures when done!!