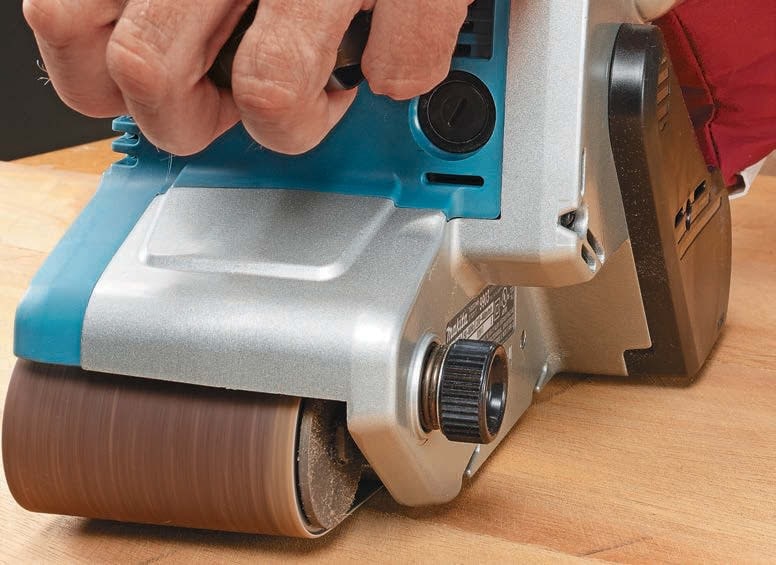
Sanding, rough finish polishing, and grinding can be incredibly painstaking tasks and unfortunately, you usually have to do them in many woodworking projects. The good news is, there’s a power tool that does almost all of the work for you! It’s incredibly easy to use, as well. If you’re working with wood, steel, laminate, or if you do a lot of grinding, a belt sander is the tool you have to have. Keep reading to find out how to choose a belt sander.
Before we begin, are you looking for some general information on tools like miters saws, chainsaws, table saws, etc? Check out our complete resource guides on Miter Saws, Table Saws, Chainsaws, Band Saws, and Circular Saws.
What Are Belt Sanders?
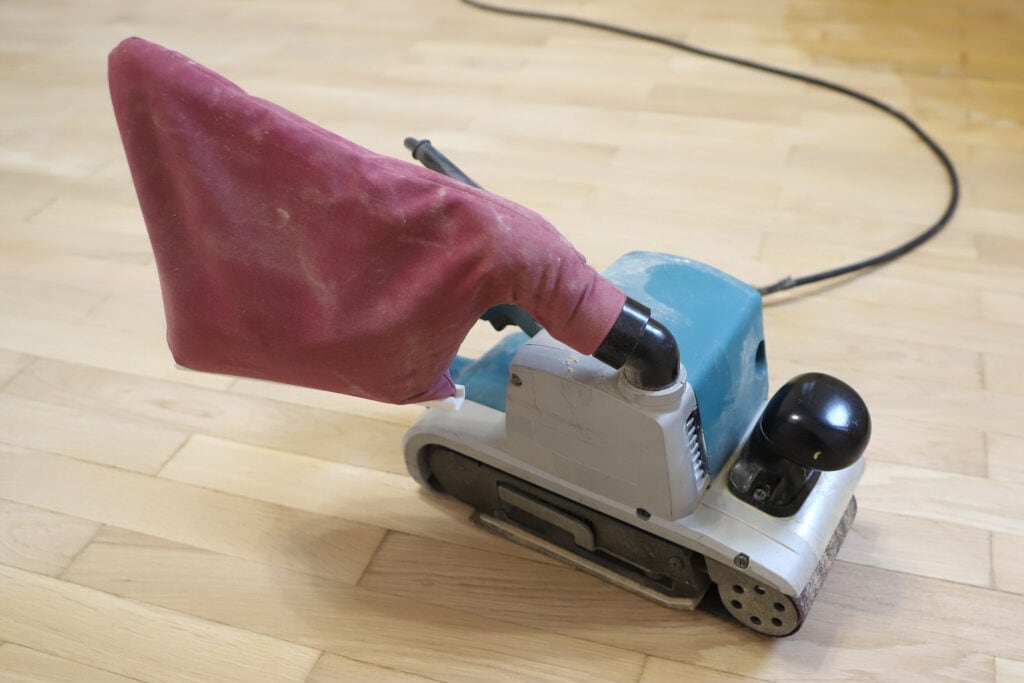
A belt sander is a hand-held power tool that is designed to rapidly smooth, shape, or remove significant amounts of material. They can be used on both small and large projects like removing paint, sanding a deck, sanding hardwood furniture, and other woodworking projects. A belt sander has a wide loop of sandpaper that is usually 3” – 4” wide. It spins around two rollers with a large flat working surface.
A belt sander is perfect for ant projects that require you to sand large areas, this is because it has a powerful motor that removes material quickly especially if you’re using a rough grit sandpaper. Fine grit sandpaper is great for projects that needs quick smoothing and finishing of a large area.
Belt sanders are most often used on wood, but they can also be used on metal or to remove paint or rust. I would like to mention that you need to be sure that you use a sanding belt that is designed for metal and that you first empty and remove the dust collector before starting so you don’t start a fire.
One of the things belt sanders do best is remove excess material, this could be on a door or countertop. Belt sanders are a very powerful tool and if it’s not used carefully, it can take off more material than intended. Be sure to take this into consideration when you’re picking the grit level of the sandpaper.
How to Choose the Best Belt Sander?
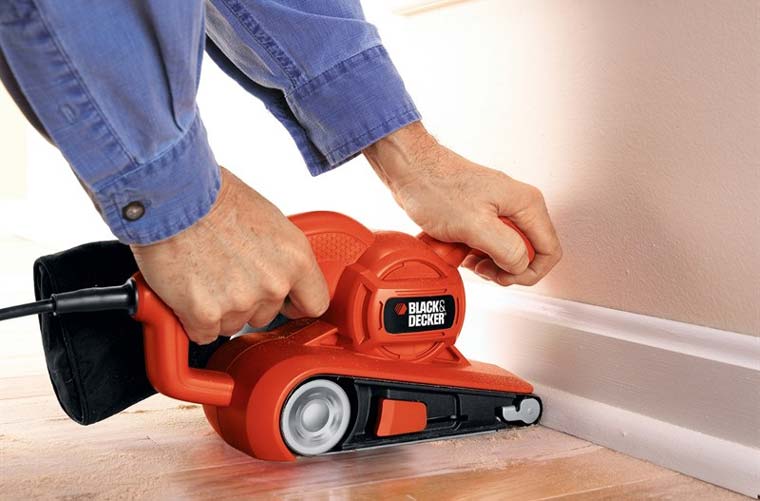
The best belt sander has a wide belt usually 3-in wide. You’ll see belt sanders being sold with narrower and wider belts, but these are for specialized tasks.
- Within the 3 in belt sander class, there are smaller tools that take 3 x 18 in. belts, medium-sized machines that take 3 x 21 in belts, and a couple of large belt sanders that take 3 x 24 in. belts. The smaller tools are more portable and easier to use since you can use them one-handed for scribing and shaping. These are best for casual use and smaller work.
- The larger belt sanders have more weight and surface area which makes them great for smoothing wide surfaces. They’re best for bigger projects and shop use. The 3 x 21 in. belt sanders are a good compromise.
- You’ll find 3 x 18 in. belt sanders from $50 to $150 and 3 x 21 in. belt sanders for $100 to $250.
- You’ll also find smaller sanders that take 2-½ in. wide belts. They’re great for one-handed use and light. Sanders with 4-in. wide belts are the heavy-duty machines that are best for cabinetmakers.
How to Use a Belt Sander
Don’t push down when using the sander; let the machine’s own weight do the work. Go slowly, allow the tool to go past the end without dipping and overlap passes. Be mindful not to change speed or direction or dip the sander. Be sure to put the cord of the machine over your shoulder so it’s out of the way.
Belt Sander Maintenance
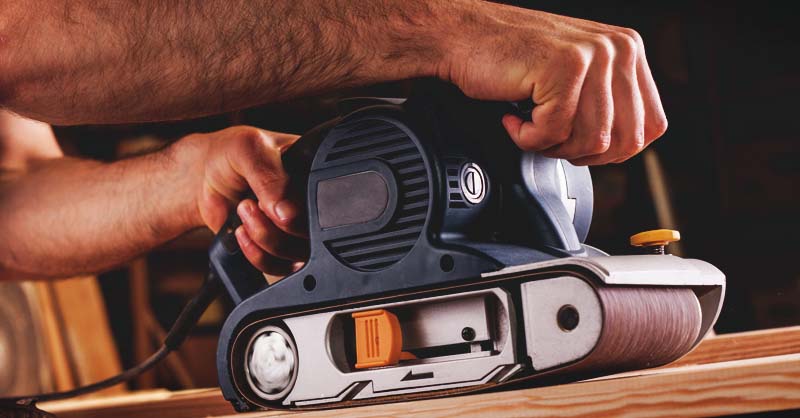
First, make sure the belt on the sander is oriented properly. Some belts have a set direction, which is indicated by an arrow on the inside of the machine. Belts sanders that are nondirectional can be installed either way. The only adjustment you’ll have to make is to keep the sanders belt centered. Hold the belt sander up, turn it on, and see if the belt either starts working its way off the rollers or rubs against the housing. With the trigger on, adjust the tracking knob until the belt is centered on the rollers.
Keep the Belt Clean
You don’t want to have a dirty belt, these make for bad work. A belt-cleaning stick will remove the buildup. Push the sander against the moving belt, if you have a larger sander, clamp the stick in a vise and sand it.
Belt Sander Safety Tips
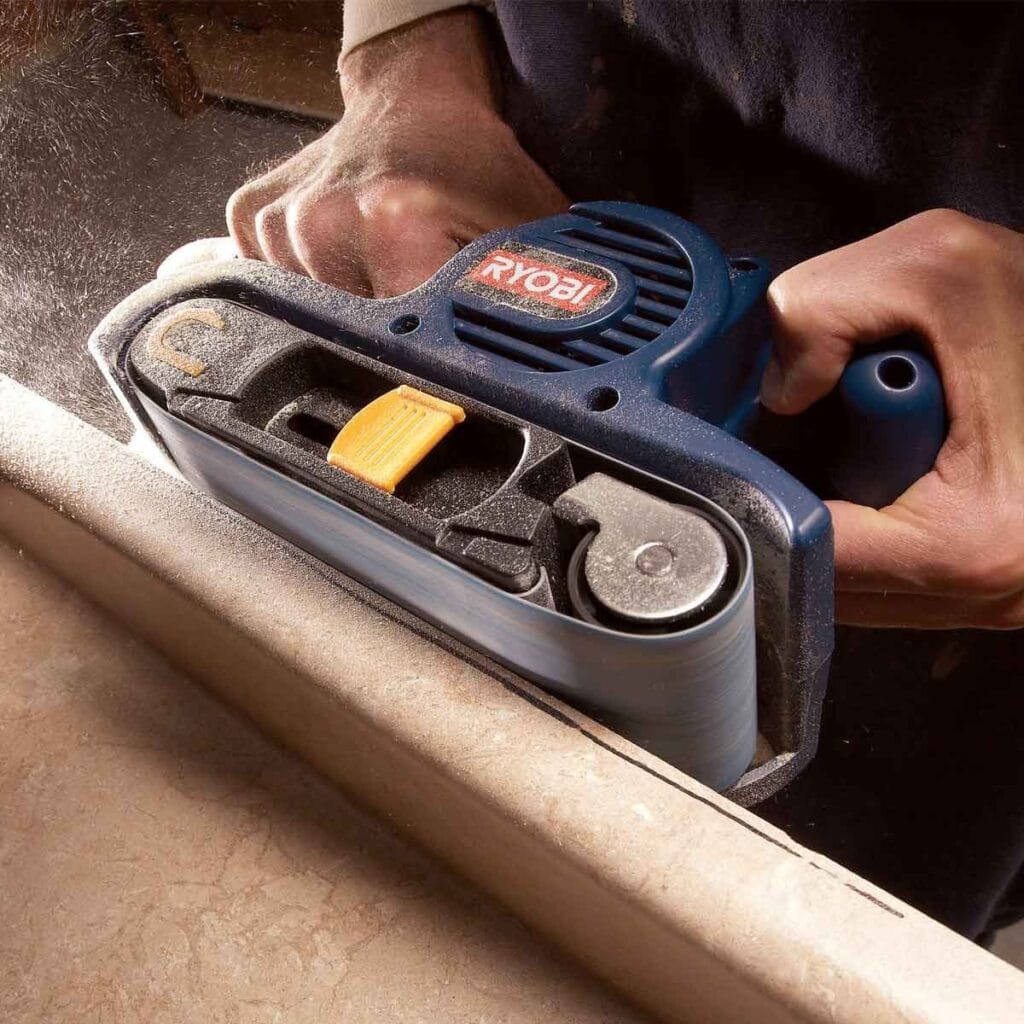
Belt sanders are overall safe to use, but you should still make sure you’re taking precautions.
- Wear hearing protection—belt sanders are LOUD!
- Wear a dust mask. The dust is not only unpleasant to inhale but it’s also bad for you. Wear a mask while sanding, unless you rig up a shop vac for dust collection.
- Unplug the tool before emptying the dust bag or changing belts.
- If you use the belt sander to sand metal, you’ll get sparks. Sparks can start a fire if they mix with the sawdust inside the dust bag and belt sander. Either vacuum or blow the dust out of the belt sander before you use it on metal.
- Make sure the trigger on the sander is off before plugging it in. Belt sanders have a lock button that holds the trigger in the “on” position. You don’t want the sander to fly across the room when you plug it in.
- Belt sanders have a lot of force meaning if your work isn’t secure, it’ll slide right into you or away from you.
Wrapping Up
There’s How to Choose a Belt Sander! We hope this guide helped you figure out how to choose a belt sander! Do you own a belt sander already? If not, are you considering purchasing one now? Please feel free to leave a comment, we would love to hear from you!

