When it comes to woodworking, learning how to cut a notch in wood is an indispensable trick
you’ll need to learn. This will help make your projects stronger and more durable, while also
providing a decorative flourish that will add to the beauty of your project.
But, notching wood can be intimidating, especially for beginners. Thankfully, when it comes to
how to cut a notch in wood, the process is fairly easy and doesn’t require too many tools.
Today, we’ll cover everything you need to know about notching wood to help you become a pro
in no time.
What You’ll Need
When it comes to notching wood, there are tons of different ways to get the job done. More
experienced craftsman may have a workshop full of different woodworking tools.
For our purposes today, we’ll show you how to cut a notch in wood using the tools you’re most
likely to already have at the ready. Here’s what you’ll need:
- Hammer
- Chisel
- Saw (a chop saw, or miter saw is best, but a trusty hand saw will do the trick, too)
- Workbench
- Vise
- Safety goggles
- Gloves
- Carpenters pencil or marking knife
- Set square (or ruler)
Step I: Preparing the Wood
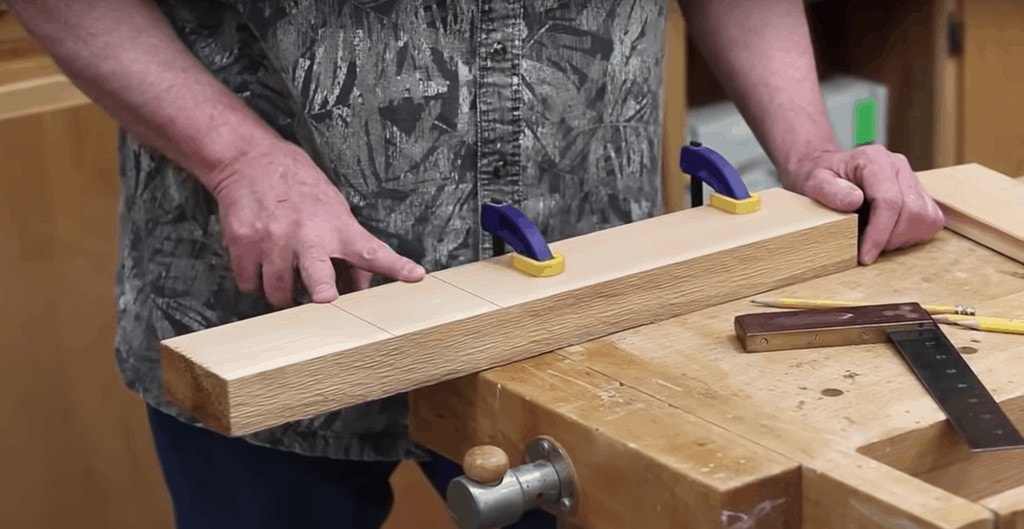
Your first order of business will be measuring for your notch and marking it on your wood.
Depending on the project you’re working on, you should have a good idea of how large you
need your notch to be.
I like to mark the wood using a marking knife, but if you don’t have one handy, a pencil will do
just fine. Once you’ve created all the marks you’ll need for your notch; you can use your chisel
to define the marks more clearly.
By using the chisel to define your marks, you’ll be able to create a good starting point for your
saw.
Step II: Cutting the Notch
We’ll be using a hammer and chisel for most of the heavy lifting here. But, you’ll be able to save
time and create a cleaner notch with a little help from a saw.
Whenever you’re working with wood, you’ll want to put on safety goggles and gloves before you
get started.
If you’re working with a hand saw, start by cutting down along the line you’ve marked for your
notch until you’ve reached the appropriate depth. If you’re unsure which type of saw is best for
the job, this helpful guide will point you in the right direction.
Repeat this process for the other vertical line you’ll be cutting as well.
Next, you’ll use your hammer and chisel to remove the wood from the middle of your notch. Place the wood flat on your work surface, and starting from the top, chisel away a small amount
of wood from the middle of the notch. Continue chiseling away until you’ve roughed in the entire
notch.
If you’re using a chop saw or miter saw, first hold the wood against the saw’s fence and make
your first cut along one of the lines you’ve marked until you reach the appropriate depth of cut.
Move the wood about ⅛” and repeat this process. Continue moving the wood and making a cut
until you’ve reached the other line you’ve marked.
When you’re done, you will have cut out a bunch of “teeth,” and the remaining wood in your notch will look something like a comb.
Using an electric saw will make it even easier for you to chisel away the remaining wood in your
notch. Place the wood flat on your work surface, and begin chiseling out the “teeth” until you’ve
completely roughed in your notch.
Step III: Cleaning Up
Once you’ve roughed in your notch, it’s time to move it to the vise and polish up your work until
you have a perfectly squared notch.
If you have a smaller chisel available, switch over to that as it will provide you with some
additional control over your work.
Use the hammer and chisel to remove any additional wood from your notch carefully. Be careful
to follow all of the guidelines you created in step 1.
Step IV: Fitting the Pieces
Now that your notch is complete make sure it fits by placing the piece of wood it will notch with
into the notch. Ideally, you want a very snug fit.
If the notch is too narrow, gently remove more of
the wood using your chisel until you’ve achieved a snug fit. If the notch is too wide, it’s time to
start over with a new piece of wood!
Step V: Repeating Steps I-IV
Once you’re satisfied with the notch you’ve created, you’ll need to repeat the entire process with
the next piece of wood, so you can join the two notched pieces together.
Wrapping it Up
Notching wood adds structural integrity and a polished look to your woodworking projects. While it can seem intimidating at first, learning how to cut a notch in wood is a straightforward process that you’ll be able to master in no time.


