Table of contents
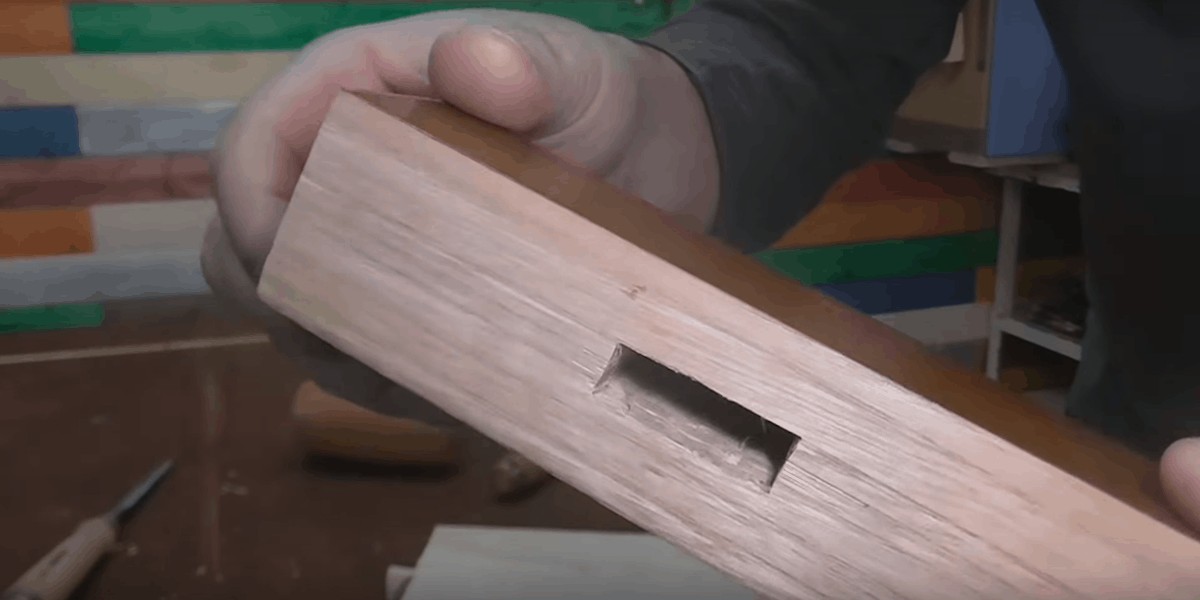
Need to learn how to cut a square hole in wood? This is a critical lesson that every hobby woodworker will need to learn at some point. Whether you’re cutting one a hole for a window, making a puzzle or toy for a child, or building something entirely different, knowing how to cut a square hole in wood will come in handy on at least one of your projects.
Thankfully, cutting a square (or any other shape) in wood is a fairly easy task that anyone with a bit of woodworking knowledge and the right tools can learn quickly. Today, we’ll share everything you need to learn how to cut a square hole in wood.
What You’ll Need
For this project, you’ll need to reach into your toolbox for a few old standbys that you almost certainly already own. Here’s what you’ll n
- Jigsaw
- Power drill
- Large drill bit
- Oscillating tool
- Sandpaper or file
- Carpenter’s pencil or marker
- Framing square
- Work gloves
Step I: Measuring and Marking
The first thing you’ll need to do is measure the square you’re going to be cutting out and mark it on the backside of the wood you’ll be cutting.
Depending on your project, you may need to take very precise measurements to ensure that your hole is located exactly where it needs to be. Even if precision isn’t a requirement of the project, it’s always best to take your time and measure carefully and correctly.
First, you’ll want to map out the dimensions for your square, so you know how large the hole needs to be. If the hole needs to be located in a specific spot on the wood, you’ll want to account for those dimensions as well.
Next, use your square and carpenter’s pencil to trace your square in the wood. You want to give yourself a dark, thick line as a guideline for your cutting later, so it can be helpful to make several passes with the pencil or to use a permanent marker instead.
Step II: Creating the Pilot Hole
Before you can begin your cut with the jigsaw, you’ll want to use your drill to create a pilot hole from which you can begin your cut.
The drill bit you use isn’t of much consequence here; you just want to make sure that it’s large enough for your jigsaw blade to fit through.
When drilling the pilot hole, it’s important that the hole itself doesn’t protrude outside of the lines you’ve marked for your square. I tend to place the hole randomly near the edge of the square I’ve traced. That way, I never have to worry about my pilot hole ending up outside the lines of my square.
Step III: Cutting Out the Square
With your pilot hole drilled, you’re ready to cut out your square.
Before you begin working with any power saw, make sure you’re taking proper precautions and wearing proper safety gear, like goggles and work gloves.
Place the blade of the jigsaw inside the pilot hole you’ve drilled. Turn the saw on and begin to follow the line you’ve traced for your square.
Cut to the inside of the line you’ve marked, not the outside. Later, if you find that the square is a bit too small, you can always widen it using sandpaper, a file, or an oscillating tool. Meanwhile, if you cut to the outside of the line, and you end up with a square that’s too large, there’s nothing you can do to remedy that situation besides start over from scratch.
These tips will help you get the most out of your jigsaw, and help you make cleaner cuts whenever you’re working with your jigsaw.
Step IV: Cleaning Up Your Work
With the square cut out of the wood, it’s time for you to clean up your work. Depending on how well you handle a jigsaw, you may not have much finishing work to do at all. But, if you’re like me, you’ll probably find a few spots that could use a bit of extra attention.
The first thing you’ll want to do is take a file and remove any rough spots inside the square you’ve cut.
If you find that the lines you cut with the jigsaw are a bit out of whack, you can use an oscillating tool, like a Dremel and a sanding wheel to make quick work of these imperfections. Be sure to work slowly and carefully to ensure that you don’t end up sanding away too much wood.
Once you’re satisfied with the look of your square, you’ll want to finish off the job with sandpaper to make your square nice and smooth. Start with low grit sandpaper (100 grit does the trick) and quickly sand the entire square. Repeat this process a few more times, each time with a higher grit paper, until you get to about 320 grit. By then, your work should be perfectly smooth.
Final Word
Learning how to cut a square hole in wood is an easy lesson that any woodworker will need to know. With just a few tools, you’ll be able to produce professional results quickly and easily by following the tips in this guide. As with any job that includes power tools, be sure you’re wearing proper safety equipment and working at a slow and steady pace to avoid accidents.

