Ever wondered how they got that distressed, old, antique, well-worn look on old furniture pieces. It's easier than you think.
In just 8 very simple steps, you can transform that boring piece of furniture into something hip and unique. Let's get started.

Find a piece of furniture or even just a piece of wood you think will look good with a distressed look. I like to cruise estate sales or even just the curb for trash.
Quality furniture or "actual" antique furniture I might try to restore to its original condition. Usually, I'll try to add the distressed look to cheap and less-expensive furniture that doesn't have character on its own.
What You'll need
- Palm Sander
- Medium to Fine Grit Sandpaper
- Paint
- Polyurethane
- Stain
- Brushes
8 Easy Steps to Distress any piece of Furniture
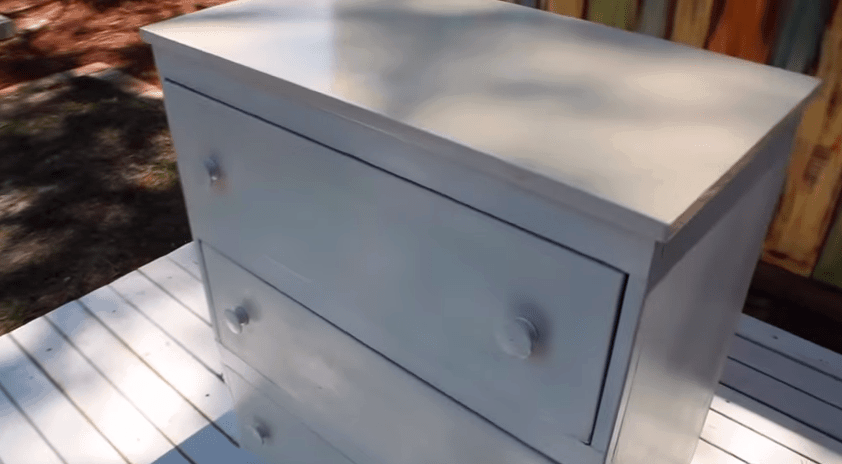
1. Disassemble Furniture
This doesn't mean tearing the entire thing apart. Remove knobs, handles, drawers, and basically anything that is easily removable.
The entire process will go significantly smoother if you take the time to do this step.
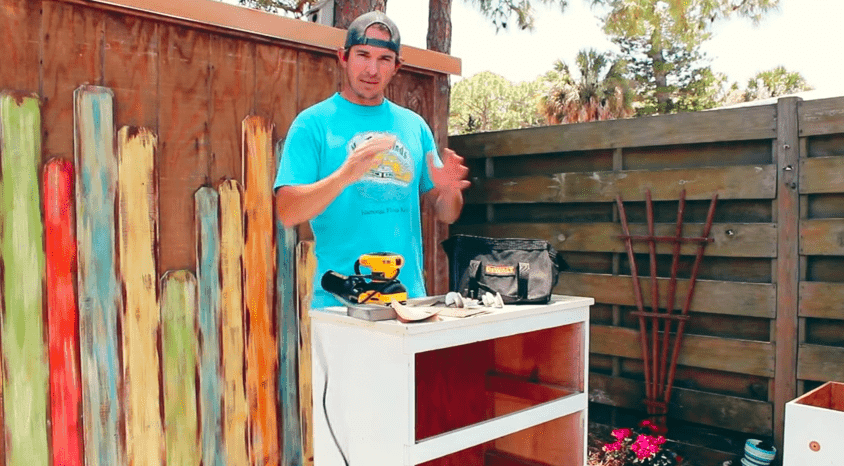
2. Sand Furniture
Sand the piece down so whatever color of paint you choose will adhere to the surface.
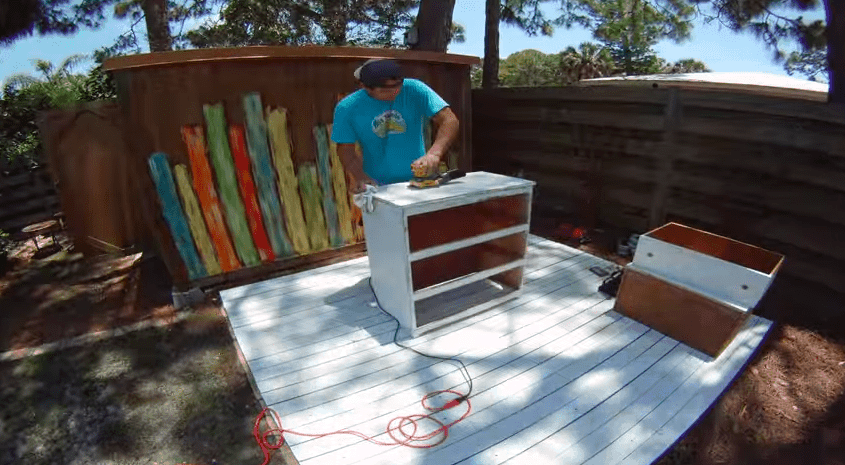
3. Paint Furniture
Pick a color you think would look good distressed. Generally bright, vibrant, or lighter colors work best. But, if you're using a light colored stain, a darker color could look cool too.
It's always best to use 2 different colors as well, applying the darkest color first (again not gospel) because, as you'll see in a later step, the first layer will have a chance to show through.
A few bits of advice...check out the "mis-tint" section at the hardware store. Mis-tints are generally custom mixed paints that were done wrong or returned for one reason or another. If you're not too picky you can get pints or gallons for anywhere between $1- $10.00. However, try not to get glossy or enamel type finishes as they are much more difficult to sand.
This is where you get to be creative and design an original piece.
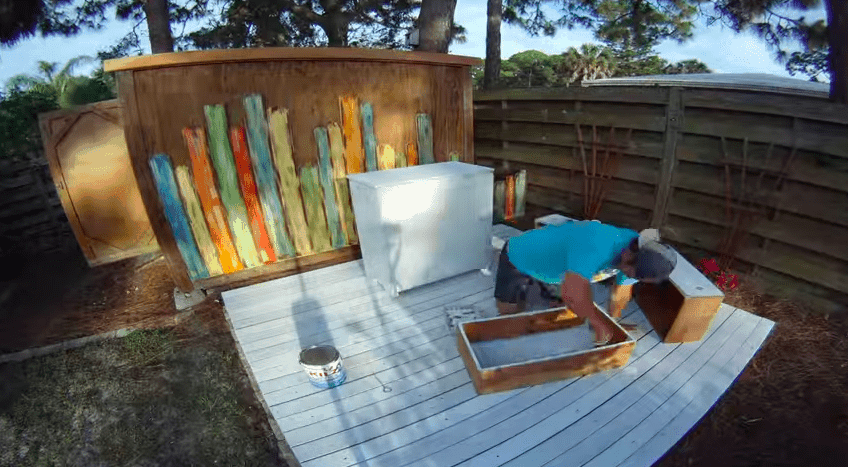
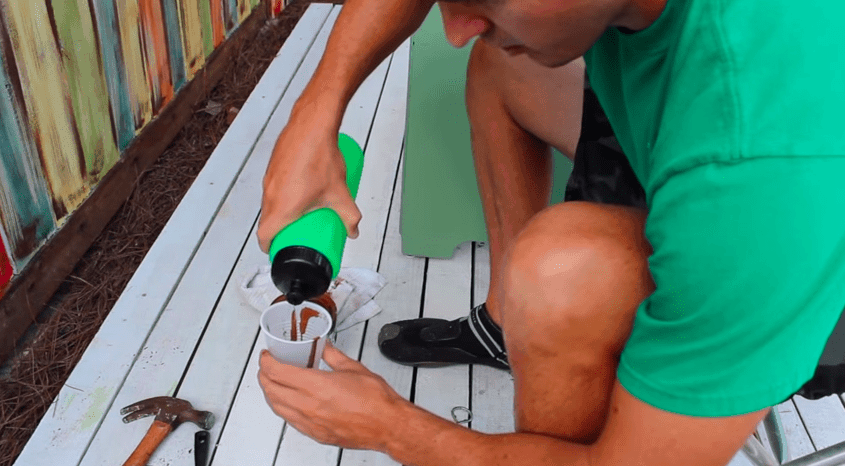
4. Add Water to dark shade of paint
This is probably around a 1:10 ratio. That would be 1 part water to 10 parts paint color. Essentially, you want to water the paint down enough for it to be much thinner.
5. Lightly Paint Thinned Color On Furniture
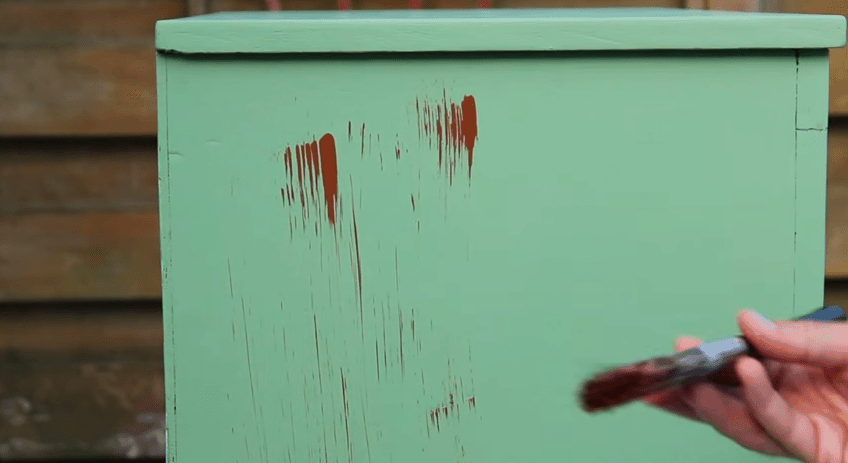
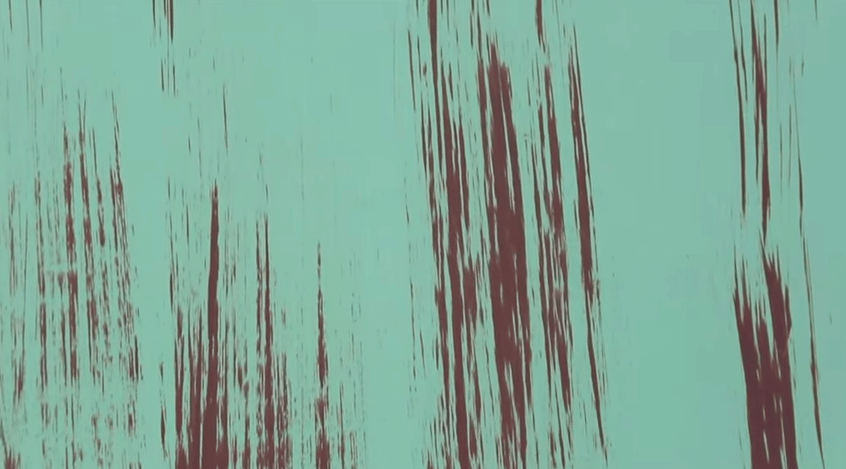
You're going for a wood grain type look. I find it best to use a cheaper brush because the bristles tend to be less uniform.
Just go slow and barely touch the surface with the brush using long strokes. Vary where you begin and end to prevent the pattern looking too consistent (this is one of the few times "inconsistency" is a good thing).
6. Repeat step 5 with a lighter color
Follow the exact same method as in step 5, but with a light color (white, cream, light blue, etc..). I would also use a more watery mix (3:10).
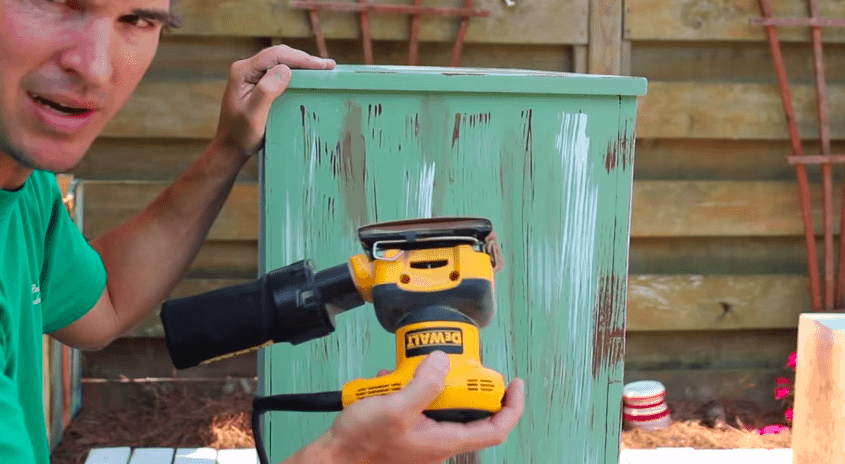
7. Sand Furniture
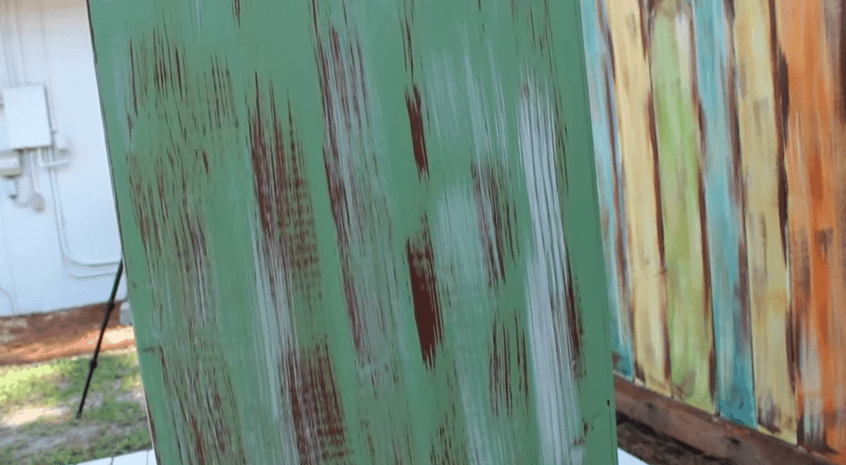
Sand with a medium to light grit sandpaper. Be sure not to completely sand away the thinned (wood grain pattern) paint.
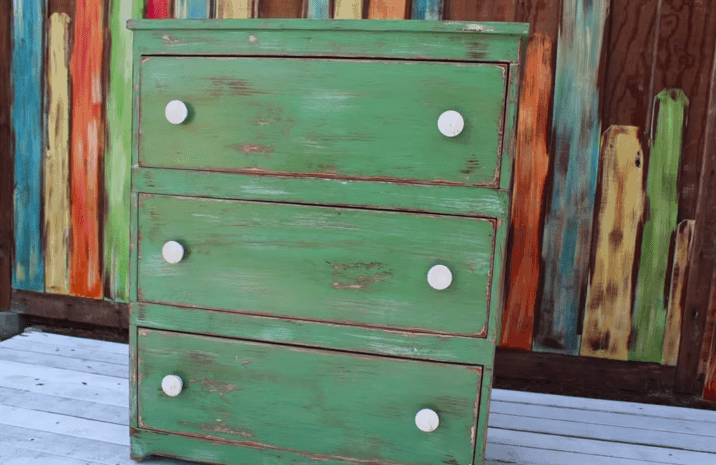
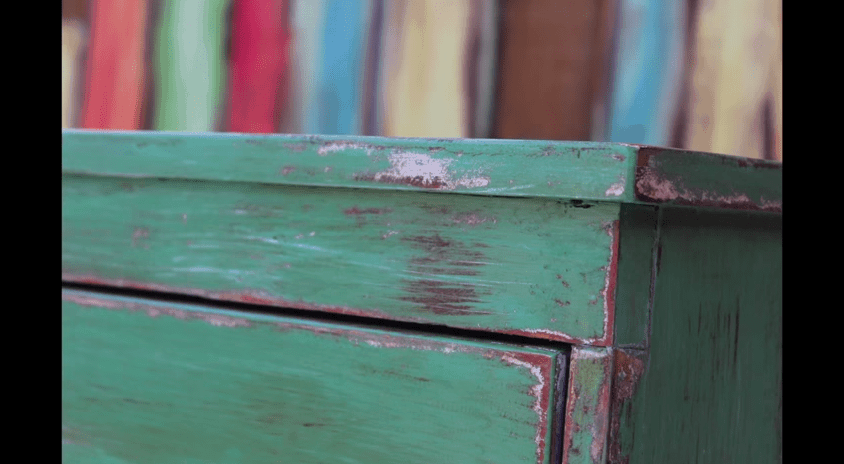
I like to sand the edges and corners all the way down to the wood (again inconsistently). It gives the piece a well-worn look.
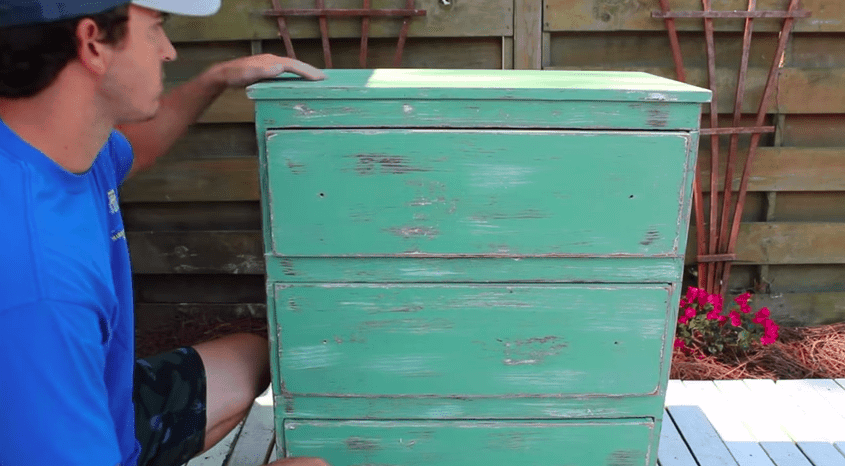
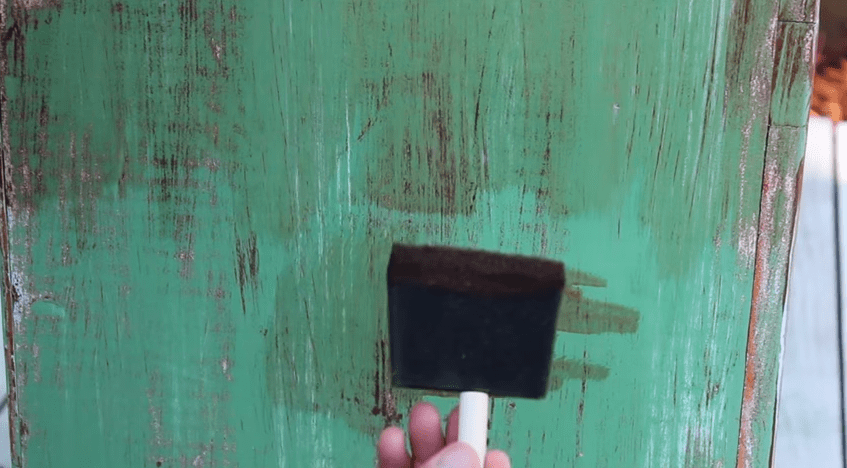
8. Apply Stain and Polyurethane
Generally, you want to use a lighter colored stain, and a semi-gloss polyurethane. But, again it's up to you.
This step is really what tops off the distressed antique look.
You're Finished
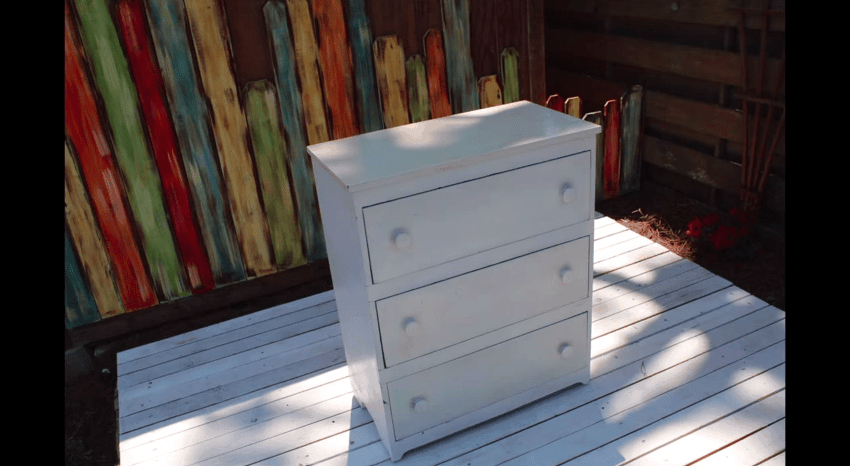
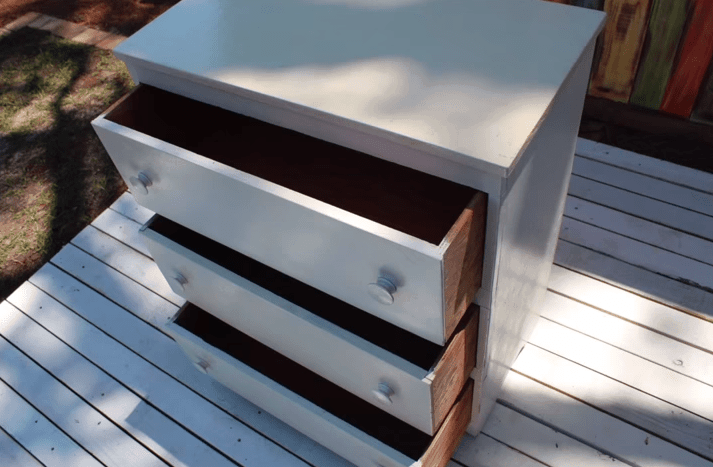
Before
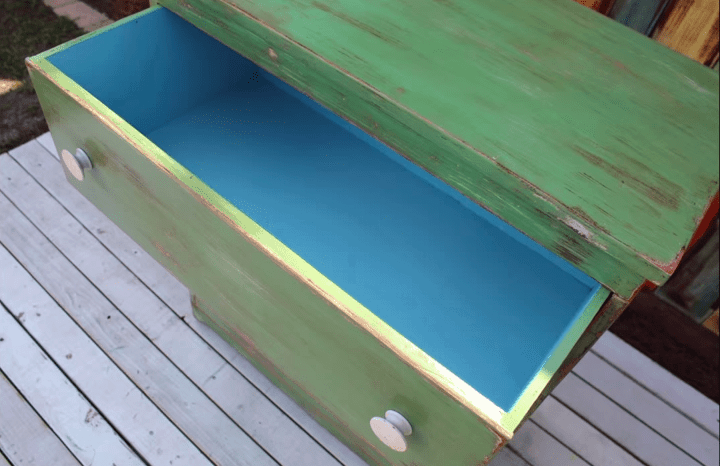
After
Watch the full tutorial from Beach Bum Livin here!
Click here for more great "how to" projects from The Saw Guy.
