Everyone likes to impress their friends. One of the easiest ways to accomplish this is to make something with your own two hands. Something like a wall made with pallets.
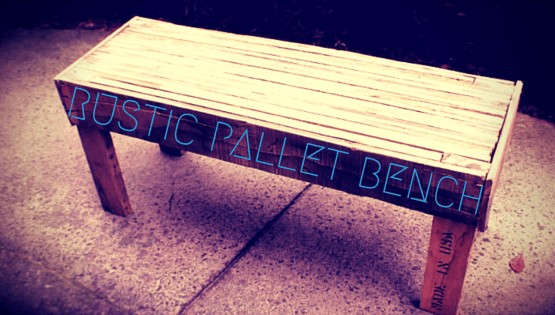
This project is incredibly easy and best of all…free! All you need is a few pallets and the tools to create this rustic pallet bench.
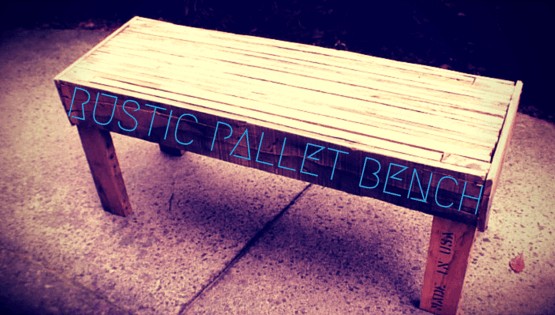
Below are the step-by-step instructions on how to make a rustic pallet bench, or to watch the full video from Bob “who likes to make stuff”.
1. Disassemble Two Pallets
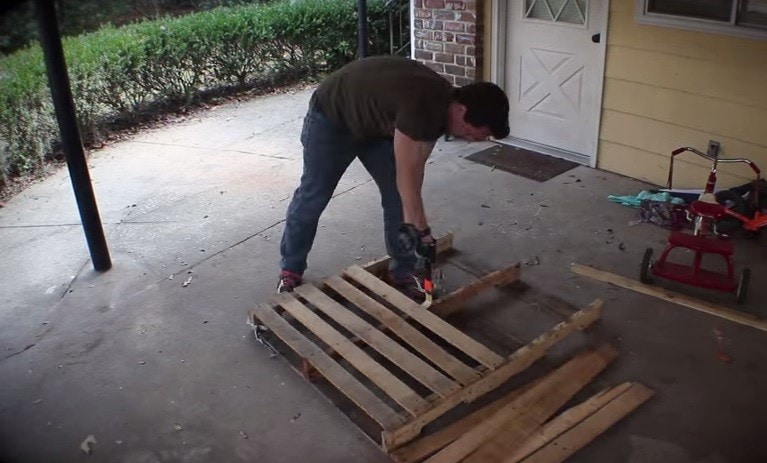
This part is definitely not fun. Click here for tips on taking apart your pallets.
2. Cut Top Boards in Half
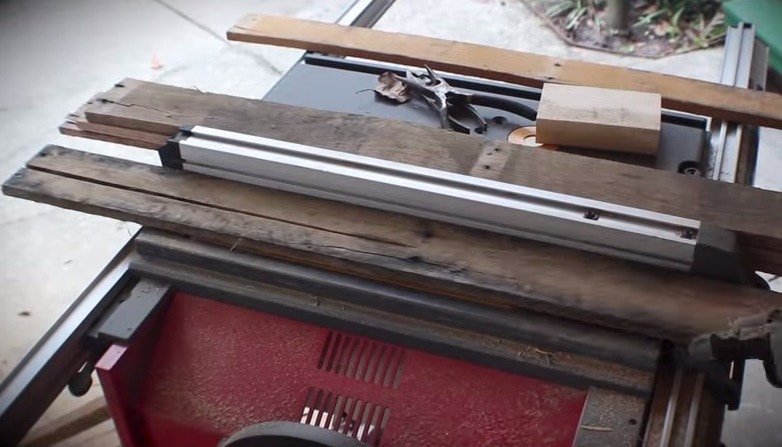
Use a Table Saw (shown) preferably, but it can be done with a Circular Saw as well.
3. Arrange Boards Side-by-Side
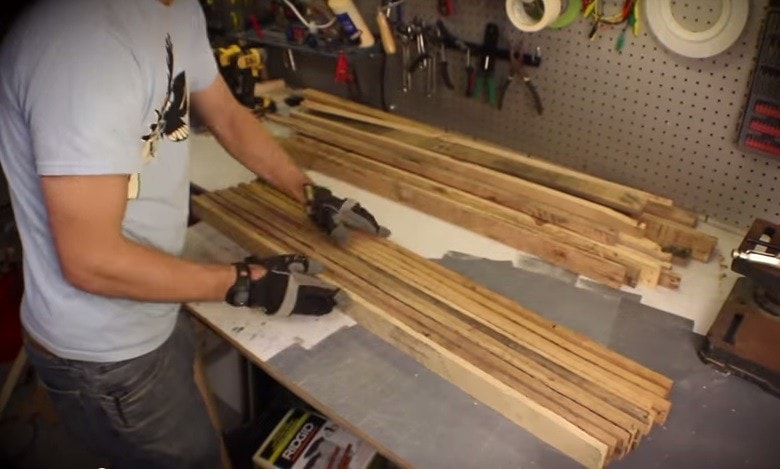 Arrange the boards in a distinct pattern by varying the color and quality.
4. Cut Boards for Legs
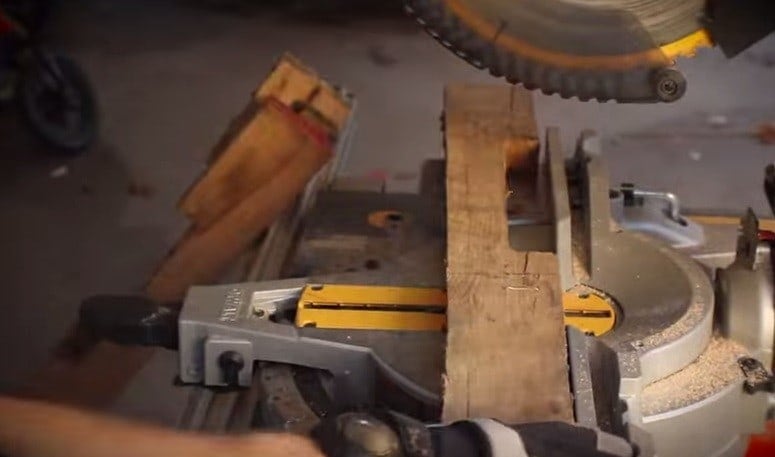 Use the structural boards from the pallet (the thicker boards in the middle of the pallet).
5. Glue the “Halved” Boards Together
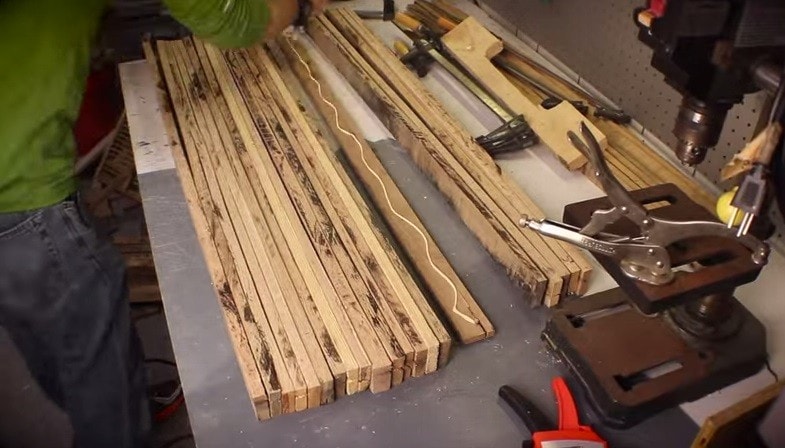 Arrange the “halved” boards with the cut side up and place a generous amount of wood glue.
6. Clamp the Boards Together
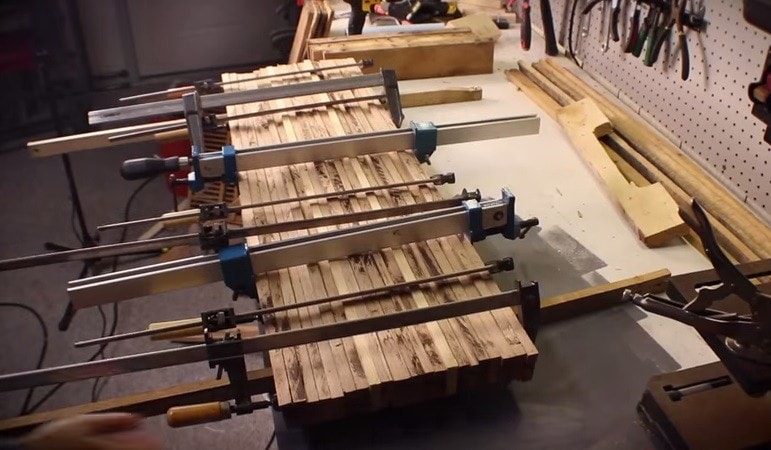 Use as many clamps as you can find, then go buy some more to use. Make sure you wipe away the access glue on both sides.
7. Outline the Leg Boards on the Bench
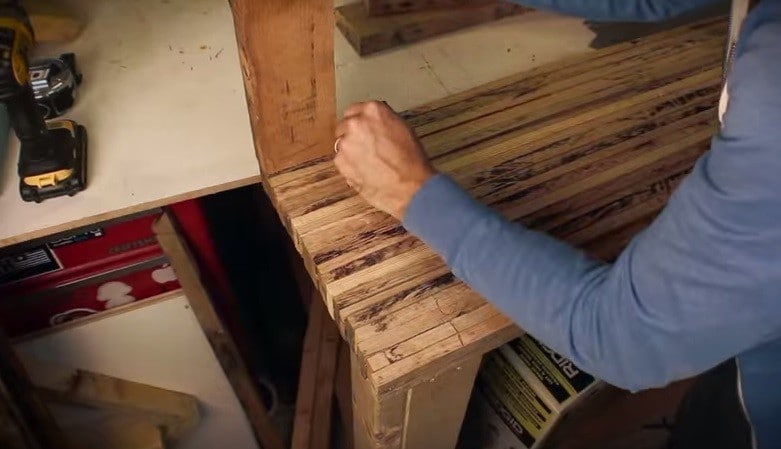 This is slightly more complicated. Because pallet wood is very rough and inconsistent, number each leg before you outline, and then make sure you use the same numbered board on the bench portion you outlined. Outlining consists of simply marking the bench so you can make cuts to install the legs.
8. Mark the Leg, and Pre-Drill Holes for Screws
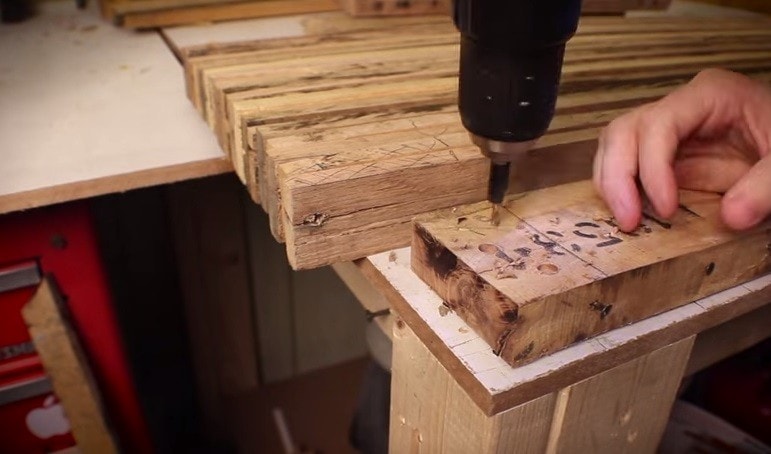 Mark the leg using the depth of the side of your bench. Now, pre-drill about 3 or 4 holes (not all the way through) so the screw you use later is recessed into the wood. You can always simply drill a pilot hole and use a special type of exterior recessed deck screw. Whatever is easiest.
9. Jigsaw the “Outlined” Corners of the Bench
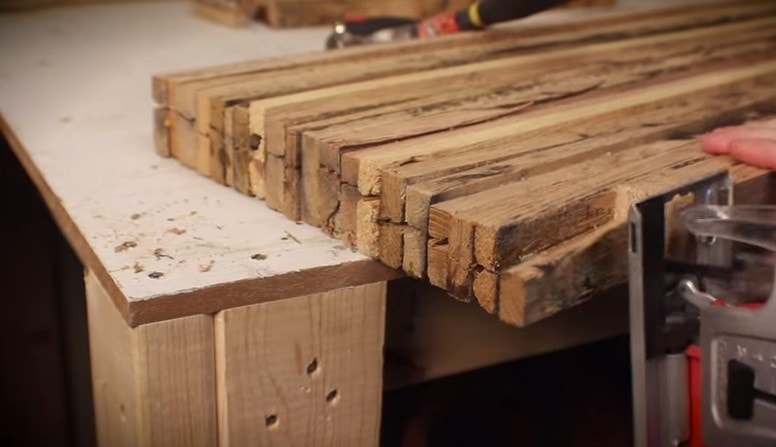 This part can be tricky because you need to be careful not to cut too deep into the wood. A helpful trick is to jigsaw slow and use some type of prying tool to help separate the pieces you want to cut from the pieces that will stay.
10. Attach Legs Using 3″ Exterior Deck Screws
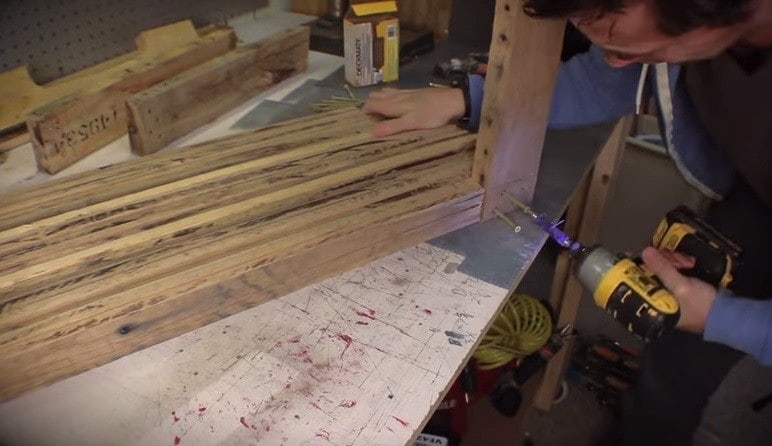
11. Install Wooden Bands on the Sides
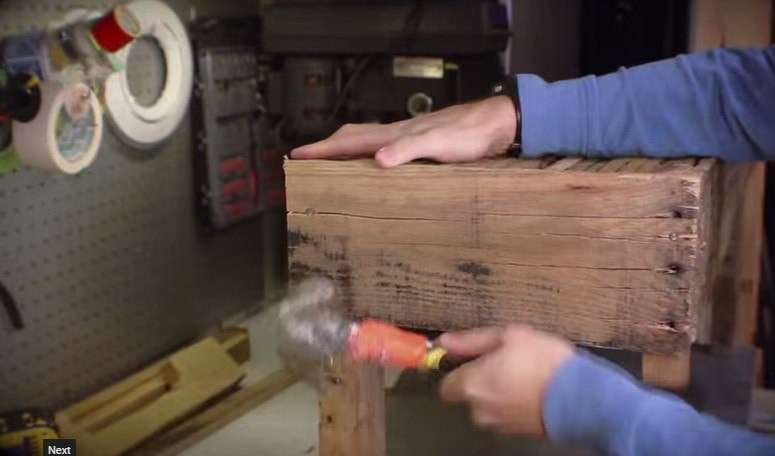 This will give your bench a finished look and hide all the screw holes. Use the widest pieces from your pallet’s. They don’t have to be all the same size, but similar is nice. You can use a nail gun or a hammer, but I wouldn’t use screws to attach because it really takes away from the rustic look.
12. Sand Away
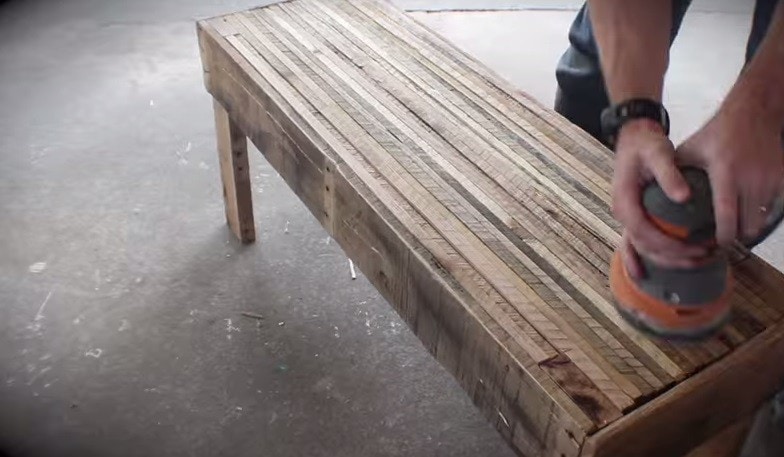 Assuming people will be sitting on this bench, you’ll want to sand away all of the potential splinters.
13. Sit
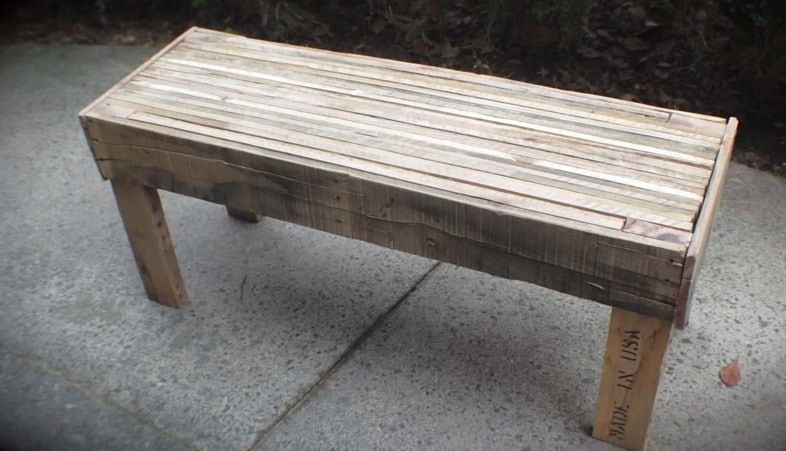
You are all done! It doesn’t get much easier than that. Just remember, it doesn’t have to be perfect. The whole point of pallet furniture is that it’s easy, and doesn’t take an expert to figure out.
You can always play around with the design as well. Add some stain, or paint each piece of the seating portion before you glue it all together for a unique look.
Most of all…have fun! Watch the full video below.
Are you interested in purchasing a bench instead?
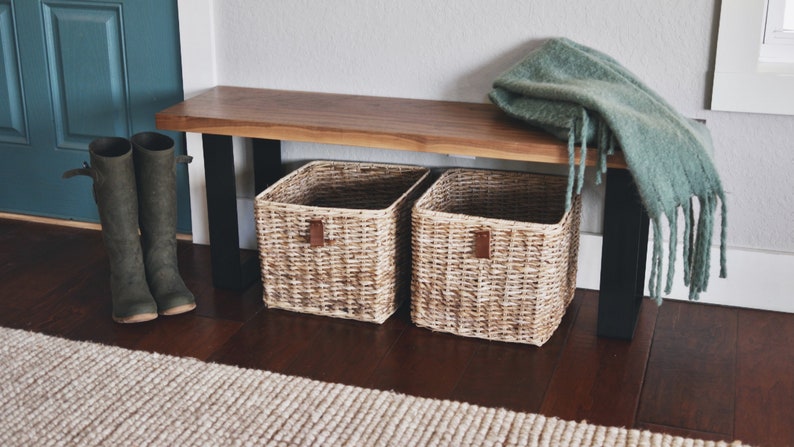
If you would rather pick up a high-quality but reasonably priced bench check out Artisan Born’s amazing line of benches available on their Etsy shop: Handmade Live Edge Black Walnut Bench, Handmade Solid Black Walnut Bench, Live Edge Black Walnut Bench, Handmade Solid Maple Bench, and Customizable Farmhouse Bench in Solid Walnut or Maple.

