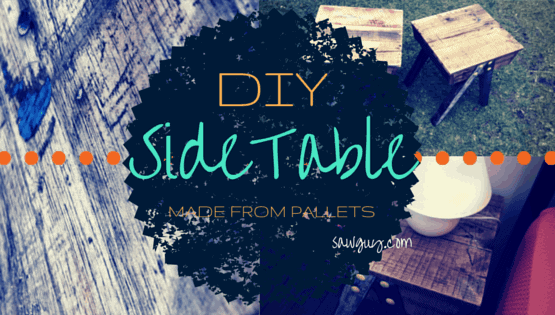
Our next project is one of my favorites. This DIY side table made from pallets is unique and stylish, and from the brain of Shane Conlan of DIY For Knuckleheads.
This certainly isn’t your typical side table, and if you’re looking for something that will challenge your newly acquired skills, this is it.
What You’ll Need
- Drill
- Miter Saw or Circular Saw (or both)
- Nail Gun (or hammer & finish nails)
- Hammer & Chisel
- Wood Glue
- Wood Joints (biscuit or dowel)
- 4 Bolts and Nuts (1/4 inch or so)
- 1- 8ft 2×4
- Bevel
- Clamps
- Palm Sander/Orbital Sander
- Screws
- Varnish
- Poster Board (for full-sized sketch)
Quick Tips
This unique project is intermediate level and requires tools not everyone may have (like a miter saw or joiner). However, you can make the miter cuts with a circular saw if you take the time to measure the angles and cut precisely. Likewise, the joints can be drilled with the proper bit and dowel joints instead of using a joiner and biscuit joints.
I suggest lightly painting (followed by sanding) random pieces of your material before you start. It will really give your piece character. Be creative and choose your own patterns and colors.
Have fun.
Step 1. Find And Disassemble Pallets
Click on the pictures below for tips on finding pallets and how to disassemble them.
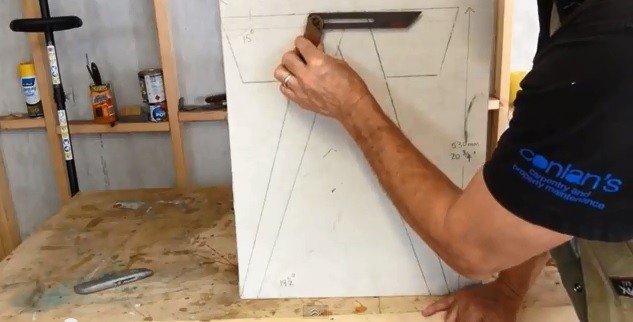
Step 2. Make A Full Size Sketch
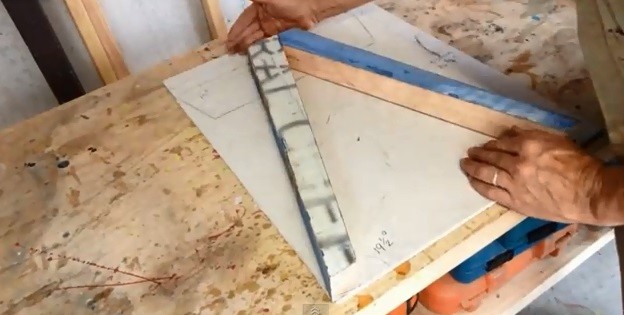
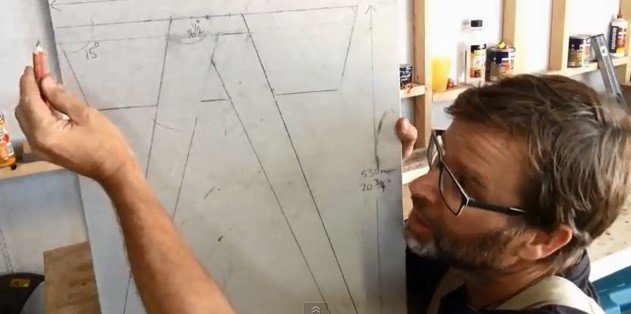
Use a bevel and a straight edge to make a full-sized sketch. This isn’t 100% necessary, but it will serve as a tool to help verify your angles and sizes.
It’s probably worth the 5 minutes.
Step 3. Measure & Cut The Legs
Depending on the height of your bed and how tall you want your table to be will determine the length of your legs.
Probably somewhere between 20-30″ will work.
Use your sketch as a guide and your bevel to draw out your cuts on the board.
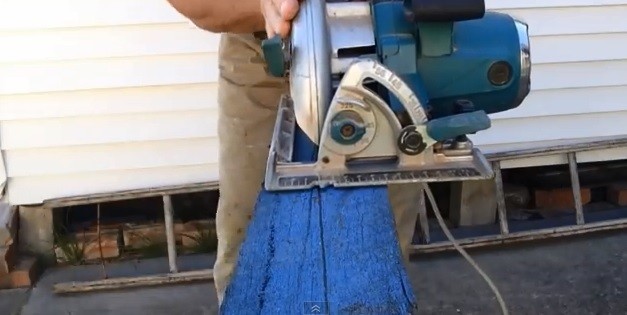
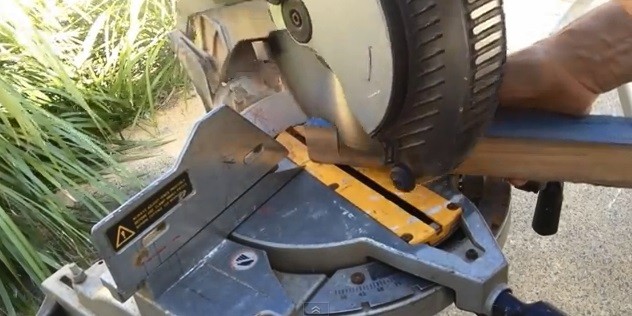
Lock down the angle on your bevel at about 16 1/2 degrees and ensure your miter saw it secured at the same angle.
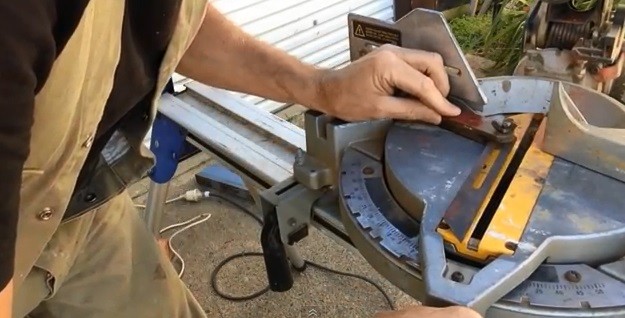
Make the cuts at the bottom of each of your legs.
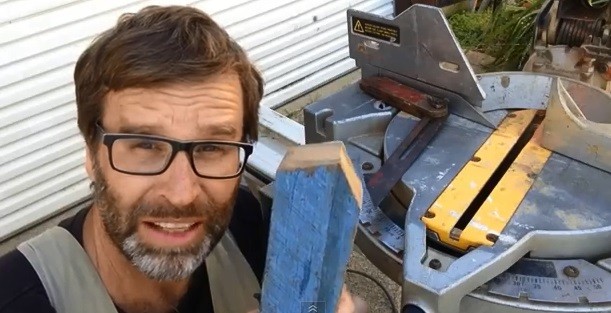
Lay your legs on your sketch and ensure they are accurate.
Step 4. Assemble Leg Mount Board
Assuming you’re making 2 tables for each side of the bed or couch, cut 2 pieces of 2×4 the same length as the pallet boards you’ll use for the tabletop sides. Use wood glue and a nail gun (or finish nails) to secure the pieces together.
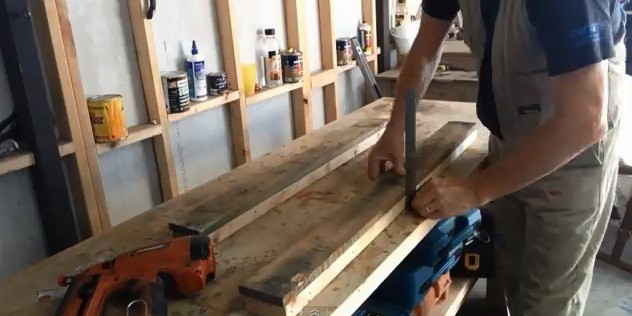
Step 5. Cut Leg Mount Board
Time to cut your tabletop side boards. Refer to your sketch and ensure you cut the boards at 15 degree (non-parallel) angles.
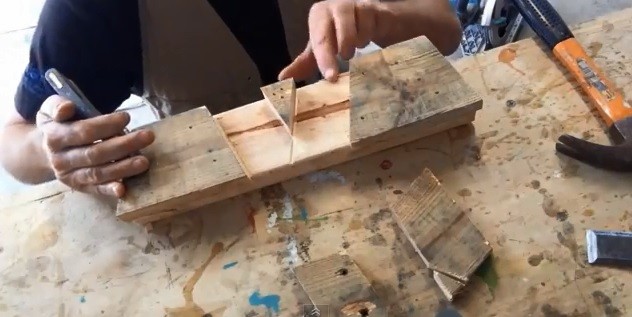
Set your circular saw at the same depth as your pallet board and cut in the pattern shown in the picture.

If you were careful not to put nails or wood glue in these areas, the cut section will lift right off.
Step 6. Notch Table Legs
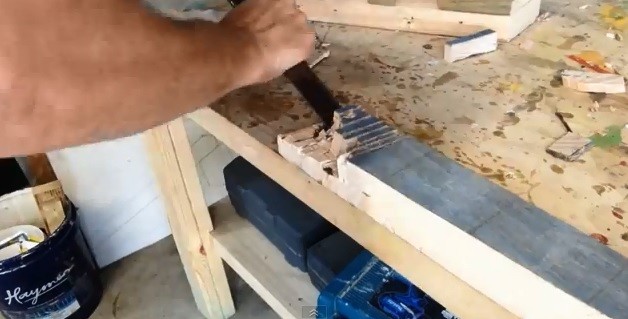
This part looks difficult, but with careful attention you can do it. Using your circular saw at pallet board depth, cut notches at the top of your legs the same width as your pallet side boards.
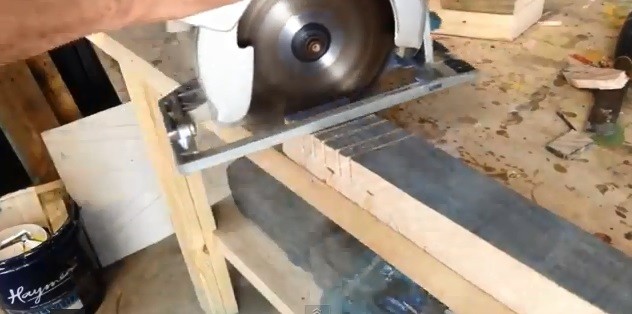
Make as many cuts as necessary to make chiseling away the cut wood easy. Make sure you clean the chipped wood away thoroughly so it sits flush on your tabletop side boards.
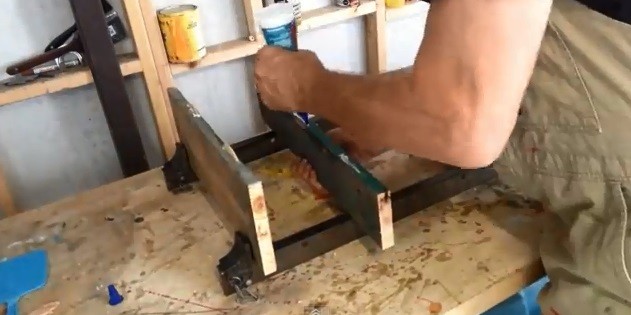
Step 7. Attach Table Legs To Leg Mount Board
Do this part slowly… Pallet wood can be brittle by nature so when you drill the holes for your bolts, take your time.
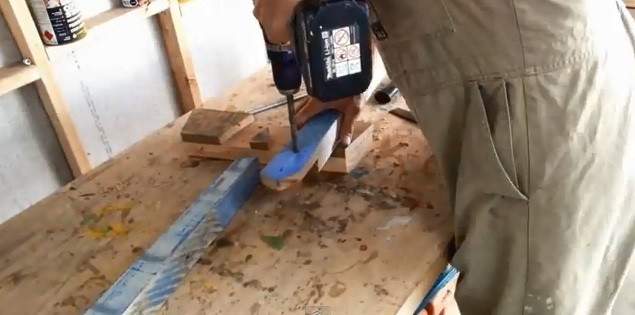
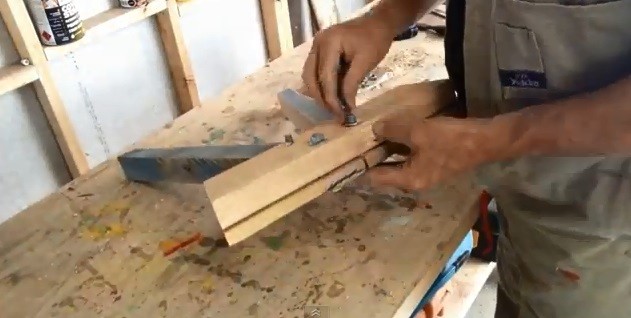
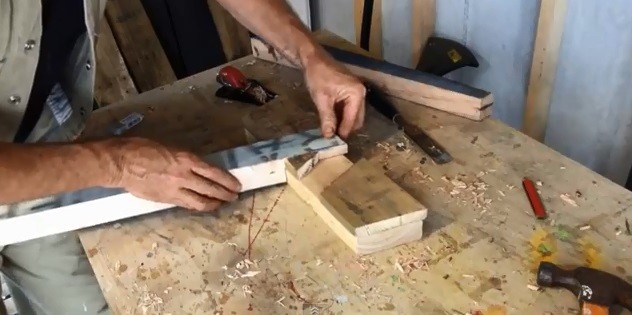
Drill 2 holes in each board (4 on each side of the table) and secure to the tabletop side.
Step 8. Build Table Top
Now the fun part. If you do not own a joiner, buy some wood pegs used to secure pieces of wood together. Drill a hole in the side of every other tabletop board, and big enough so you have to lightly hammer the pegs in.
Be sure to put a dab of glue in the hole before tapping the pegs in. Also place glue on the edge of each board before clamping together.
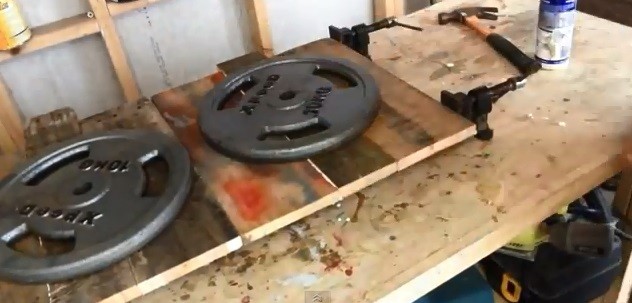
Place weights on the boards and let them rest for a few hours. However, if you have the patience for 24 hours, the glue will have plenty of time to set by then.
Also, make sure you wipe off any access glue after you clamp the boards. It is very difficult to sand glue away.
Step 9. Attach & Sand Table Top
This is the easy part. Add a generous amount of wood glue to the top of the tabletop sides, and attach using a nail gun (or finish nails), again wiping the excess glue away.
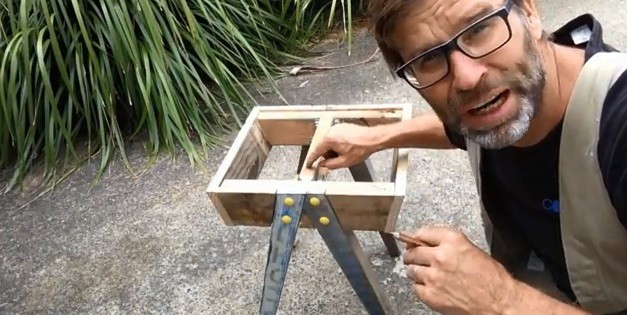
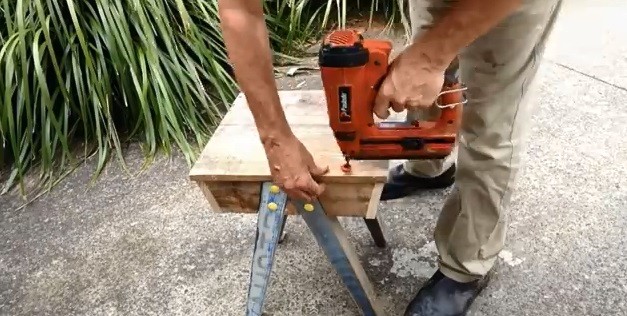
Sand the tabletop, the sides, and the legs until all are extremely smooth.
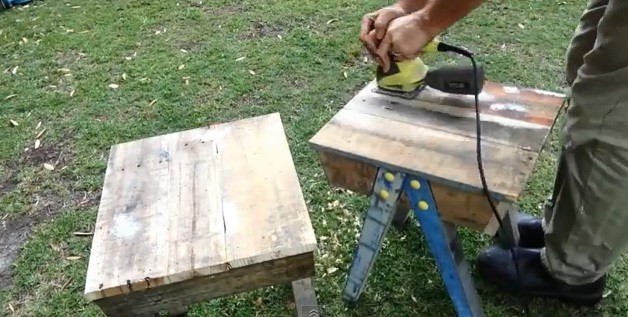
Step 10. Add Varnish & You’re Finished
If you want the natural look, add a nice wood varnish to seal, and bring out the wood grain on your table.
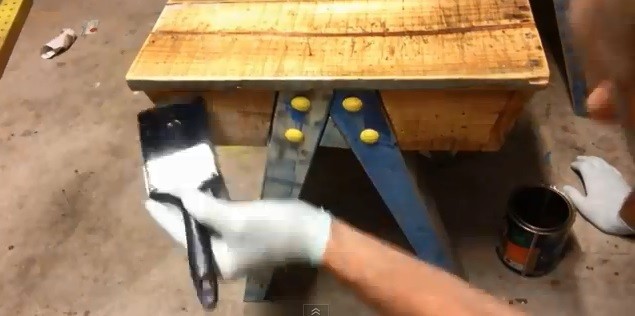
Can you believe it? You’re done!
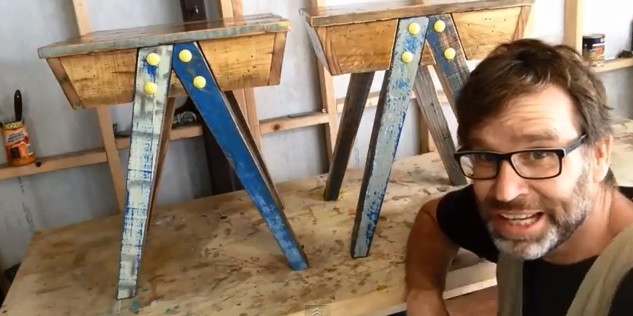
Watch the full tutorial from Shane Conlan below.
For more great pallet furniture ideas click here.

